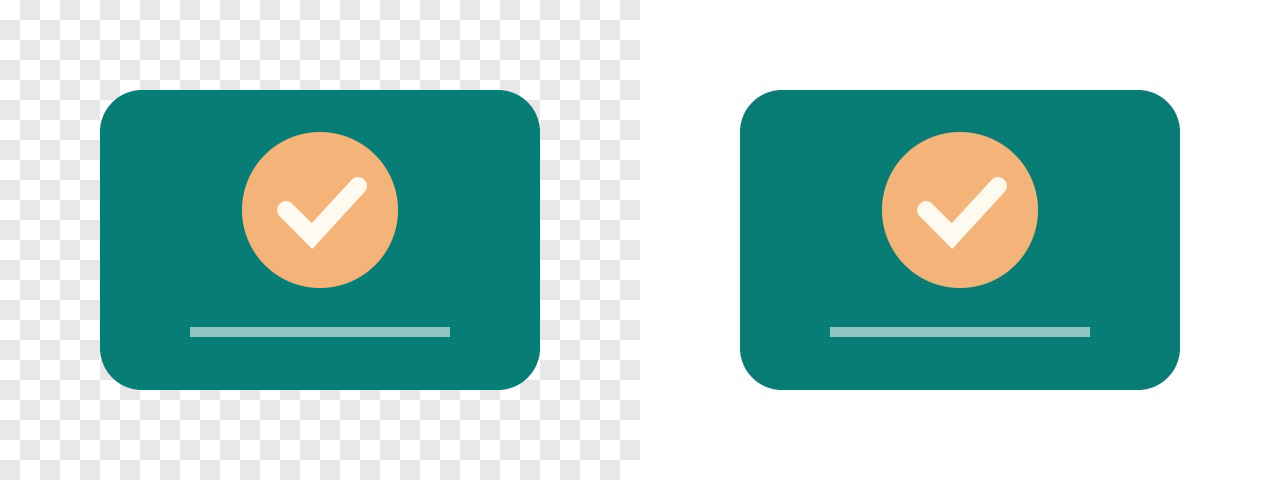
To convert PNG to JPG without a black background, use a converter that fills transparent areas with white before saving the JPG. ImageFinch does this automatically. Choose your original PNG, keep JPG as the output, convert it, and check the downloaded image. There is no background colour setting to configure.
If the PNG already contains a black background, conversion will keep it. A white fill replaces transparency; it does not remove a background that is part of the picture. That distinction explains most unexpected results.
Choose a PNG and create a JPG copy locally in your browser. Keep your original if you may need transparency later.
Convert PNG to JPG in four steps
- 1Open the PNG to JPG converter and choose your original PNG. You can select one image or several.
- 2Keep JPG as the output. Start with the default Conversion Quality of 90 rather than lowering it before you’ve seen a result.
- 3Select Convert. When processing finishes, inspect the preview, dimensions and actual file size. Transparent areas should now be white.
- 4Download the JPG and open that saved file. For a batch, use Download All as ZIP and extract the files before uploading them elsewhere.
The same browser workflow works on a computer, iPhone or Android device. On a phone, choose the file from your file picker and open the download from Files or Downloads. Use a smaller batch if your device runs short of memory.
Why does a transparent PNG turn black in some converters?
PNG can store an alpha channel: some pixels are fully transparent, and others are partly transparent around shadows or smooth edges. JPG has no alpha channel. Before it can save the picture, the converter needs to put those pixels over a solid background.
If that step is missing or uses black, the result can have a black rectangle or dark edges. ImageFinch fills a white canvas first, then draws the PNG over it and saves the JPG. Fully transparent corners become white; partly transparent edges blend into white.
For the underlying format differences, see the MDN image format guide. The practical question is simpler: do you want a solid background, or do you still need the image to be see-through?
A dark preview is not always a black background
An editor may display transparent pixels over a dark workspace. Move the original PNG onto a white or checkerboard background to check it. If the dark area changes with the background, it is transparent. If a black rectangle stays inside the image, those black pixels are already in the source.
What if the JPG still has black areas or rough edges?
| What you see | Likely reason | What to do |
|---|---|---|
| A solid black rectangle remains | Black pixels were already saved into the source, or an earlier conversion flattened it onto black. | Return to the original transparent PNG. Converting the black-background copy again will not restore transparency. |
| A thin dark outline around the subject | The source may contain dark edge pixels, or JPEG compression may have changed fine detail. | Compare the original on white. Try higher quality; if the halo is already there, fix the original edge in an editor. |
| White corners are visible on a coloured page | The JPG is an opaque white rectangle, not a transparent cutout. | Keep PNG, or use a transparency-capable format accepted by the destination. |
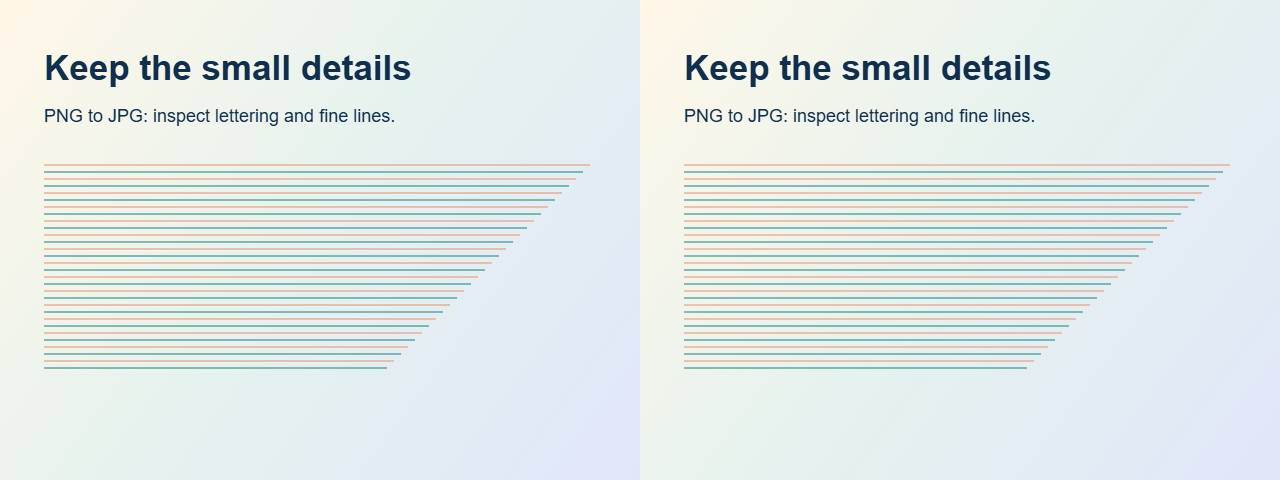
| Small lettering looks fuzzy | JPEG compression is changing high-contrast edges. | Raise quality and compare at normal viewing size. Keep PNG when exact text or line detail matters. |
Changing quality cannot bring back a removed background or make JPG transparent. If you need a background colour other than white, place the original PNG over that colour in an editor before exporting. This converter does not offer a custom background-colour picker.
Choose quality by looking at the image, not just the number
Start at quality 90 and compare the JPG with the PNG. Look at small text, thin lines, gradients and the edge of the subject. If the file is too large, try a lower quality from the same original and compare again. Repeatedly converting an earlier JPG can add damage without solving the real problem.
A quality value is not a percentage of the original file size. Quality 80 does not mean the file will be 20% smaller, and quality 100 is still not a promise of pixel-identical output. The browser’s JPEG encoder and the picture itself both affect the result.
Two downloadable PNG-to-JPG tests
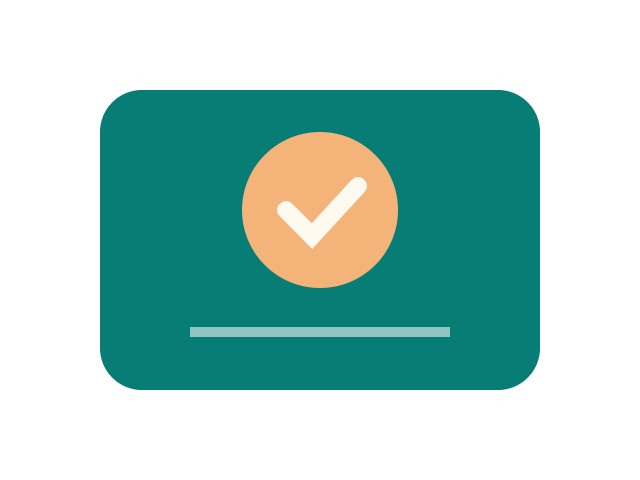
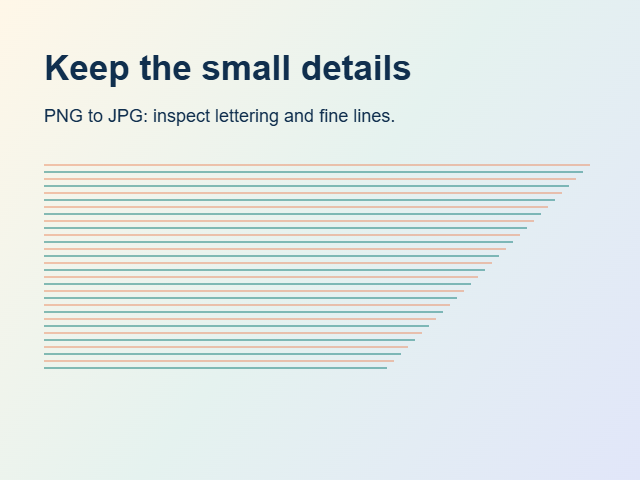
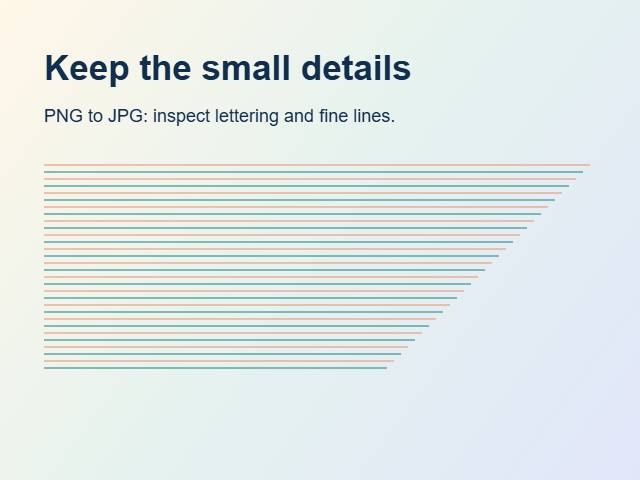
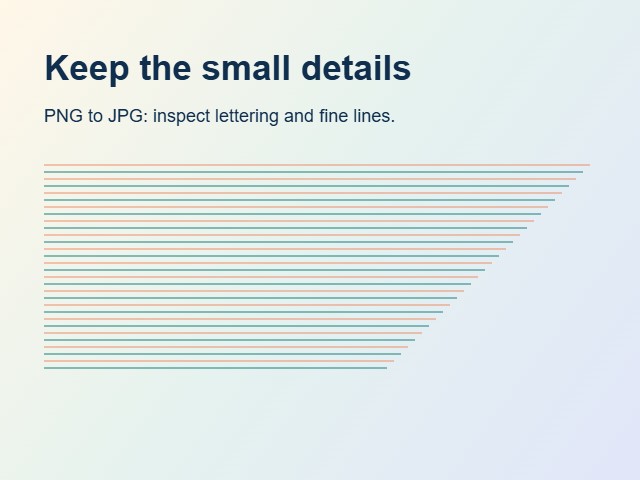
Measured on 7 November 2026 in Chrome 157.0.0.0 using this site’s converter at quality 70 and 90. Both synthetic PNGs are 640 × 480 pixels; each JPG keeps those dimensions. The transparent badge is flattened onto white. File sizes below are exact bytes, not rounded KB. Your images and browser may produce different results.
| Sample | Original PNG bytes | JPG quality 70 bytes | JPG quality 90 bytes | Dimensions |
|---|---|---|---|---|
| Transparent badge | 15325 | 8735 | 12357 | 640 × 480 |
| Text and gradient | 276339 | 21291 | 31565 | 640 × 480 |
- Download the original transparent badge PNG
- Download the badge JPG at quality 90
- Download the original text-and-gradient PNG
- Download the detail JPG at quality 70
- Download the detail JPG at quality 90
These are test graphics, not typical-photo savings claims. Flat graphics can already be very small as PNG. A JPG may be larger, so compare actual bytes before replacing a file that already works well.
The Canvas export documentation explains how browser image export accepts a lossy quality setting. For a strict upload limit, use the target-size compressor after conversion and check both the output bytes and final dimensions.
When should you keep PNG instead of JPG?
JPG is a useful delivery format for an opaque photo when the destination accepts it. It is less suitable for a transparent logo, tiny interface text or artwork that needs exact pixels. Choose the file that does the job, even when that means keeping the original.
| Your image or requirement | A sensible choice |
|---|---|
| An opaque photo for a JPG-only upload form | Convert to JPG, then check quality, dimensions and the upload limit. |
| A logo that must sit over different page colours | Keep PNG or use another accepted alpha-capable format. A white-background JPG will show its rectangle. |
| A screenshot, diagram or small text | Try PNG first. Compare carefully before accepting JPEG edge artifacts. |
| An editing master you may need again | Keep the original PNG separately. Use the JPG as a delivery copy. |
| An animated PNG | Use an animation-aware workflow. This still-image converter does not preserve APNG animation. |
If transparency matters but the PNG is too large, try compressing PNG without losing transparency. For web delivery, PNG to WebP is another option when the destination accepts it. Our PNG-to-AVIF transparency guide covers a separate format choice; neither route makes JPG transparent.
Convert a batch without overlooking a bad result
Select several PNGs and convert them together. The same quality setting applies across the batch, but a photograph and a small logo can respond differently. Review the completed results, keep any useful originals, and download the successful files as a ZIP.
The converter allows up to 100 files per selection and 100 MB per file. Those limits do not guarantee that a phone can decode a large batch: pixel dimensions and available memory matter too. If one file fails, retry it separately or use a smaller batch.
Check the saved JPG before you upload it
- Open the downloaded JPG, not just the original PNG or the in-page preview.
- Check the white background, soft edges and text at the size people will actually see.
- Confirm the file format, exact bytes and pixel dimensions match the destination’s instructions.
- Extract a batch ZIP and upload the individual image files, unless the destination specifically requests an archive.
- Keep the original PNG so you can make another copy without starting from a lossy JPG.
If the upload accepts PNG and the original already meets its rules, you may not need a conversion at all. A successful result is the right file for the destination, with the background and detail you intended.