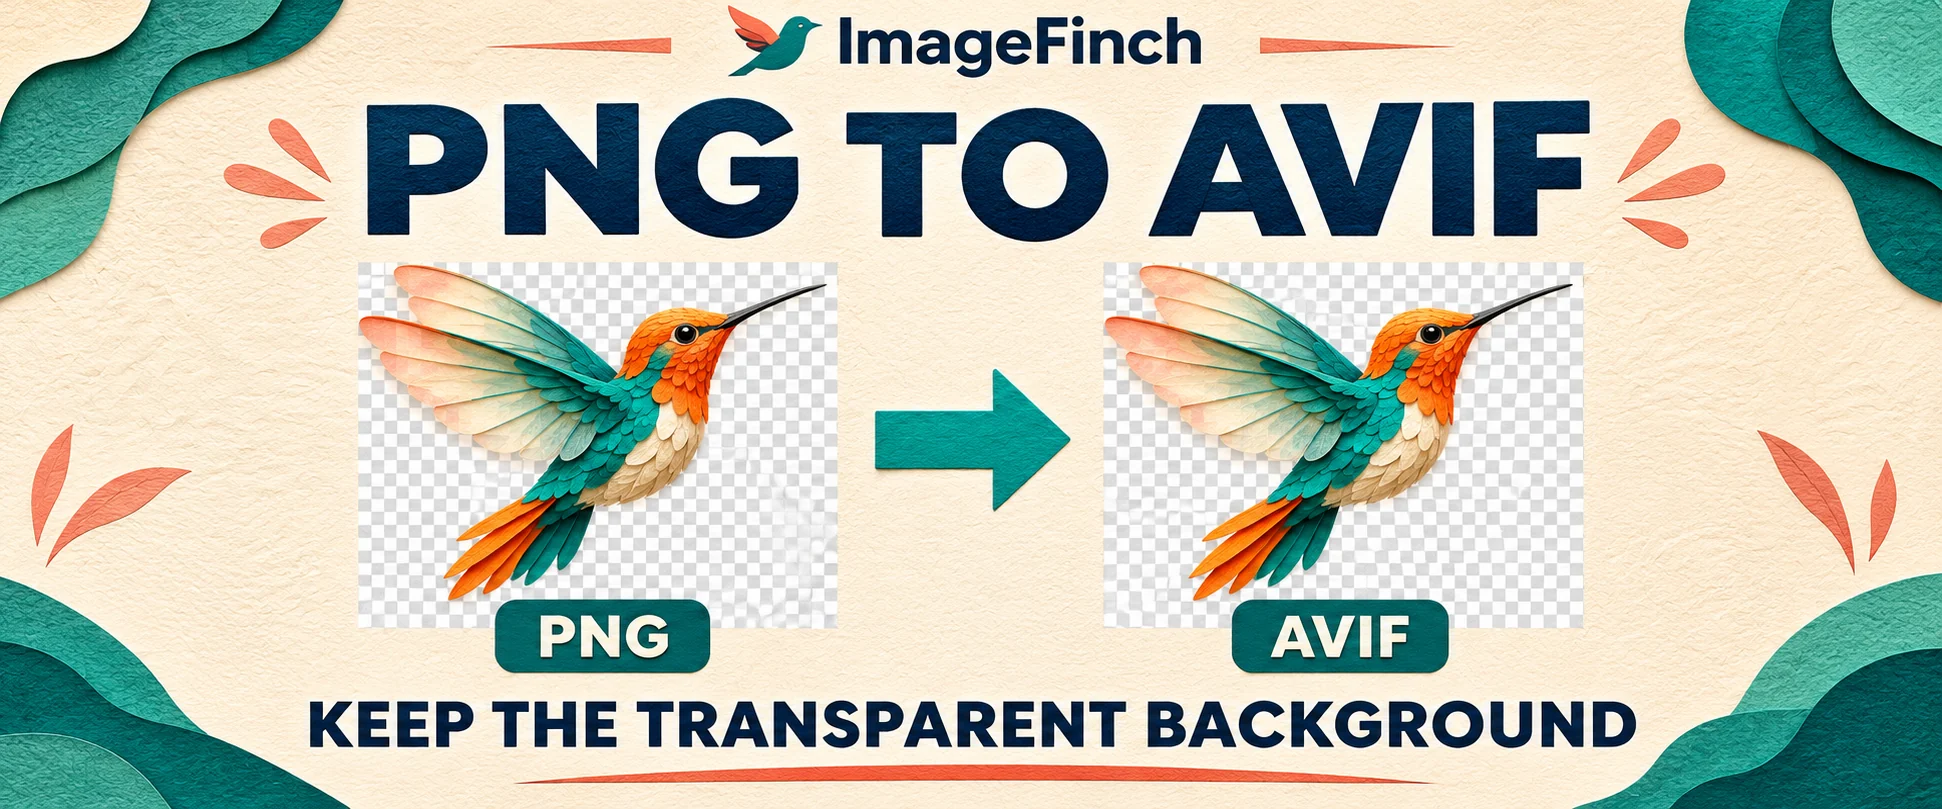
To convert PNG to AVIF without losing transparency, choose a PNG that already has a transparent background, select AVIF, and convert it. Download the result and check it on light and dark backgrounds. Pay attention to fine edges and soft shadows: a file can stay transparent while some details change.
Convert your PNG locally in your browser. Compare the AVIF preview and actual file size before you download.
Want to see the result first? Compare three downloadable samples at quality 70, 80 and 90, on light and dark backgrounds.
Convert a transparent PNG to AVIF in four steps
- 1Open the PNG to AVIF converter and choose your original PNG. Keep that source file so you can compare results or start again.
- 2Keep AVIF as the output. Start with the default Conversion Quality of 90; you can compare another setting if the result is too large or fine detail changes.
- 3Select Convert to process the image. Wait for the completed result, then inspect its preview, dimensions and actual output size.
- 4Download the AVIF. Check the saved file over both a light and a dark background, then try it in the website or app where you will use it.
Converting the file won’t remove its background. If your PNG has a solid white rectangle behind the subject, start with the original design and export a transparent copy first. Changing the filename from .png to .avif won’t do the conversion either.
ImageFinch converts on your device rather than uploading your image to a processing server. Keep the tab open while it works. If a large batch makes your phone slow down, start with one image or a smaller group.
Check the downloaded AVIF on light and dark backgrounds
A white viewer background can make a transparent image look opaque. A checkerboard preview is useful, but the better test is the actual downloaded file against two different backgrounds. Use an editor that can open AVIF and place a temporary layer behind the image.
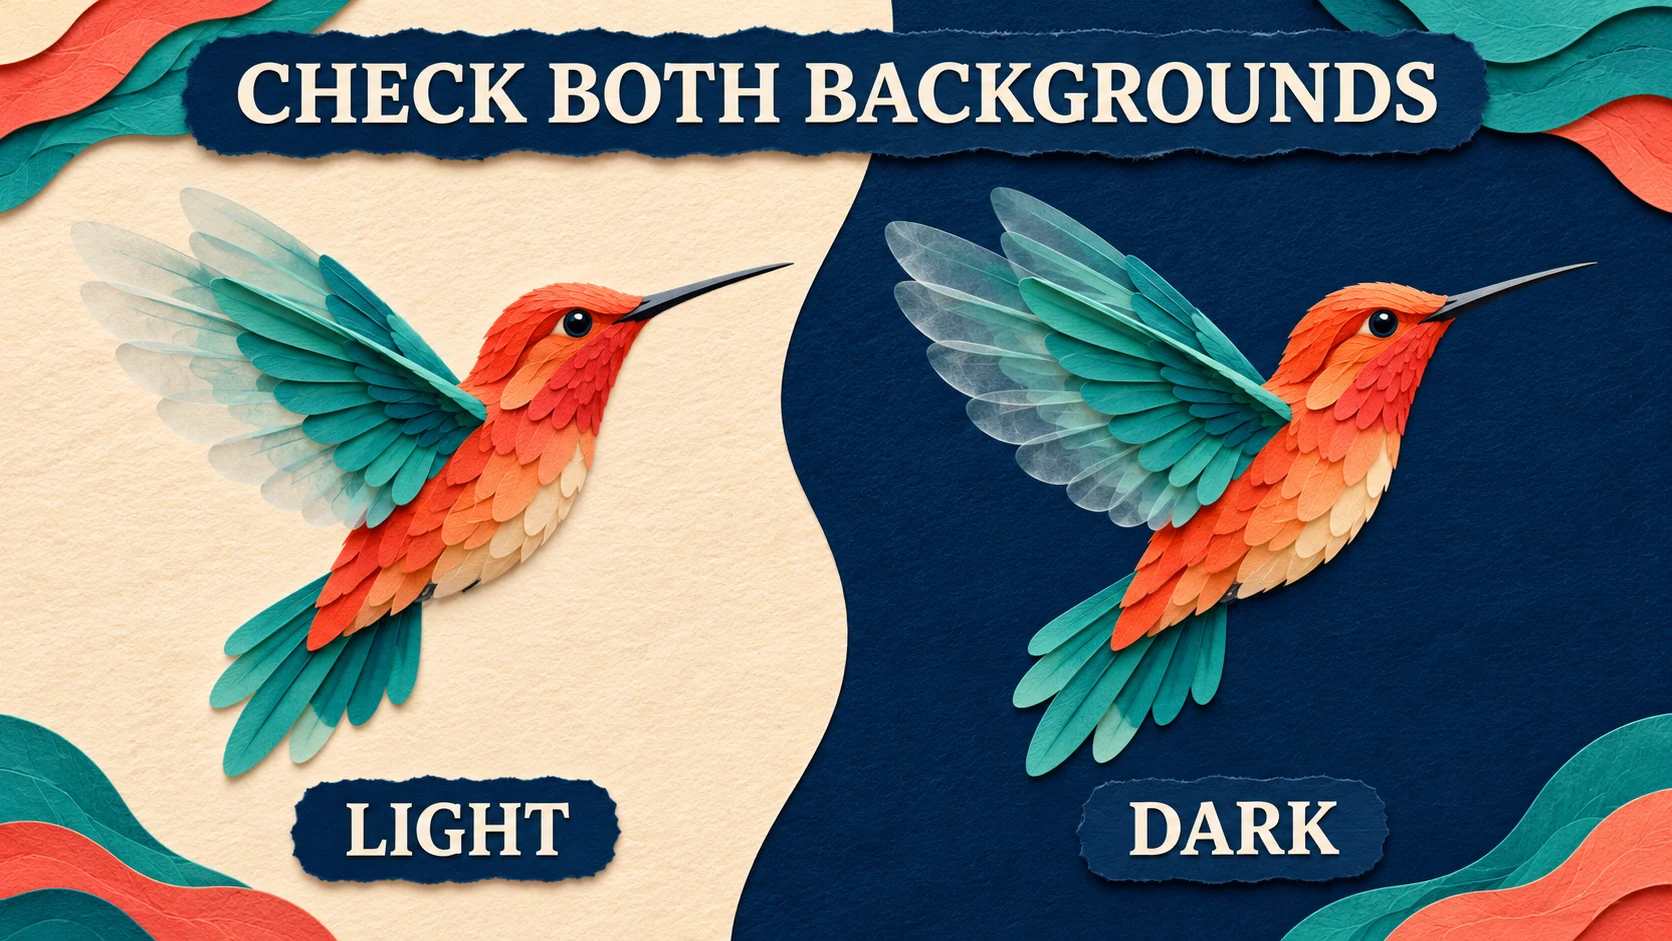
- On a dark background, look for a white fringe around the subject or an unwanted light rectangle.
- On a light background, inspect dark outlines, missing detail and shadow edges.
- At 100% zoom, check lettering, thin lines and semi-transparent pixels. A small preview can hide damage.
- Open the AVIF in its destination too. A file that looks correct in one viewer may not work in an older editor or an upload form that requires PNG.
Those temporary background layers are just for checking. Keep them out of the final export if you still need a transparent image. Compare the same edge against the original PNG: a fringe already present in the source is not a new conversion problem.
Does AVIF support PNG transparency?
Yes. AVIF supports transparency through an alpha channel, including partly transparent areas such as soft shadows. The Alliance for Open Media AVIF overview documents transparency, lossy and lossless compression, and other format capabilities. Whether a particular conversion preserves what you need also depends on its encoder and settings.
| What you need | What to check |
|---|---|
| An empty background | The source actually has transparent pixels, rather than a white or checkerboard pattern painted into it. |
| Smooth cutout edges | Partial transparency and fine colour transitions still look clean against both backgrounds. |
| A smaller download | The exported AVIF has fewer actual bytes at an acceptable appearance. |
| A usable website asset | The browser, CMS and receiving app accept AVIF; keep a compatible fallback where needed. |
Keeping transparency is different from keeping every pixel identical. An AVIF can retain a transparent background while lossy encoding changes the colours in a logo, the detail in a screenshot or the appearance of a gradient. Judge the whole asset, not just the empty area around it.
Choose a quality setting without guessing
Start at quality 90 in ImageFinch, keeping the original dimensions. If the result looks clean but is larger than you need, try a lower setting from the original PNG. For thin lettering, flat colour boundaries or a delicate shadow, compare a higher setting before accepting visible changes.
The quality number is an encoder setting. It is not a percentage of the original detail, a predicted reduction in bytes or a guarantee that the background is preserved. Quality 100 is not a promise of lossless output in this converter.
| Your source | A useful first check |
|---|---|
| Logo with small lettering | Keep the dimensions and inspect letter edges at native size. Keep PNG if they soften. |
| Product cutout | Check the outline and any soft shadow over the backgrounds on your product page. |
| Gradient or glow | Look for visible bands, colour shifts or rough transitions. |
| Tiny, optimized icon | Compare actual bytes. The original PNG may already be the better file. |
AVIF can support lossless encoding, but a converter must explicitly implement that path. For example, the Sharp AVIF encoder documentation lists quality and lossless mode separately. If you need unchanged source pixels for editing or archiving, keep the original PNG rather than treating a high-quality AVIF copy as the master.
Compare real PNG to AVIF exports at quality 70, 80 and 90
Not sure which setting to choose? Pick one of the samples below, switch between quality 70, 80 and 90, and try both backgrounds. You can download the original PNG and each AVIF to compare them at full size. These are actual converted files; the hummingbird artwork above is an illustration.
How we tested these samples
Measured on 2026-11-06 in Chrome/157.0.8103.39, using ImageFinch’s conversion function and @jsquash/avif. We prepared three synthetic 640 × 480 PNGs: lettering and lines, an AI-generated bottle cutout, and a gradient with soft transparency. Each AVIF was made from the same original PNG at quality 70, 80 or 90, with no resizing. We checked file bytes and compared the transparency values after reopening each file. This tests the conversion function, not the complete manual upload-and-download journey. Results apply to these prepared files; your images may behave differently.
Synthetic wordmark and geometric lines created for this test. Inspect small lettering and coral line edges.
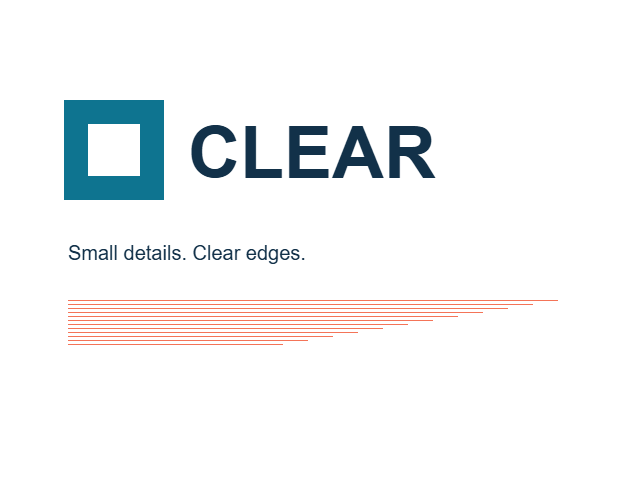
Download original PNG
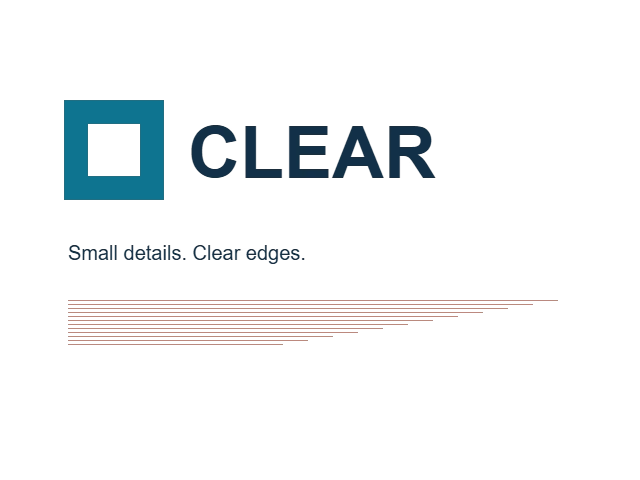
Download AVIF at quality 90
Both files are 640 × 480 pixels. This AVIF is 70.6% smaller than the PNG. Check the lettering, edges and shadows before choosing it.
Transparency test details
Some transparency values changed during conversion: 2,116 pixels differed, with a largest change of 11 on the 0–255 scale. Here, 0 means fully transparent and 255 means fully opaque. These counts describe this sample and setting; use the previews to judge whether the changes matter.
These previews load the actual files linked above. No background is baked into the downloads. Switch backgrounds here, then open the saved files at 100% zoom to judge fine detail.
| 640 × 480 sample | PNG bytes | AVIF Q70 bytes | AVIF Q80 bytes | AVIF Q90 bytes |
|---|---|---|---|---|
| Lettering and fine lines | 19,293 | 4,391 | 4,776 | 5,676 |
| Transparent product cutout | 97,047 | 6,401 | 7,766 | 11,319 |
| Gradient and soft shadow | 277,274 | 9,616 | 12,683 | 21,548 |
The smallest number isn’t always the best choice. Open the lettering at 100% zoom, inspect the bottle outline, and look at where the shadow fades away. If quality 70 looks rough, compare 80 or 90. If the PNG looks better and its size is acceptable, keep it.
Why does my AVIF have a white or black background?
First establish whether the background is part of the file or just the viewer. Put the downloaded AVIF over two coloured backgrounds in a compatible editor. If the empty area reveals both colours, the transparency is working. If a solid rectangle remains, work through the checks below.
| What you see | What to do next |
|---|---|
| A solid rectangle on both backgrounds | Check the original PNG first. If it was flattened, return to the layered or transparent source. Reconvert without adding a background. |
| White or black only in one viewer | Try a current AVIF-compatible browser or editor and check the same saved file again. |
| A visible checkerboard inside the picture | The pattern may be painted into the source. A format conversion cannot turn those squares into transparent pixels. |
| A fringe around the cutout | Compare the source edge, keep original dimensions and try a higher quality. Colour contamination may need repair in the source editor. |
| A good preview but a rejected upload | Check the destination’s accepted formats. AVIF support in a browser does not mean every upload form accepts it. |
Will AVIF always be smaller than PNG?
No. Detailed artwork and photo-like PNGs can benefit, while small flat graphics or already optimized PNGs may not. Content, dimensions, alpha detail and quality all affect the output. There is no fixed saving that applies to every transparent PNG.
Compare the file sizes, check the dimensions, and look at the image at the size you’ll actually use. Saving a few kilobytes isn’t worth blurry text or a damaged cutout. Start each attempt from your original PNG rather than converting an AVIF again and again.
If AVIF adds no useful saving, try PNG to WebP when the destination accepts it, or compress the PNG while keeping transparency. You do not need to replace an already suitable asset just because another format is newer.
PNG vs AVIF: choose for the job
| Your priority | PNG | AVIF |
|---|---|---|
| Transparent backgrounds | Supports transparent and partly transparent pixels. | Also supports alpha; verify the exported edges and destination. |
| Exact editing master | Losslessly stores its encoded pixels. Keep the original source for future edits. | This tool uses quality-based encoding; keep a separate PNG master. |
| Compact web delivery | An optimized small graphic can already be efficient. | Worth testing for detailed artwork and photo-like sources; compare actual bytes. |
| Tiny text and fine lines | A sensible choice when exact details matter. | Inspect at native size. Raise quality or keep PNG if detail changes. |
| Compatibility | Broad support in editors and upload workflows. | Modern browser support is broad, but an editor, CMS or form may still reject it. |
| Animated source | APNG needs an animation-aware workflow. | The format supports animation, but this still-image converter is not an APNG animation workflow. |
For a transparent logo, start by asking whether the PNG is actually too large. For a detailed product cutout used on a website, an AVIF copy is worth comparing. Choose the version that meets the destination requirements and keeps useful detail; a format change alone is not an improvement.
Convert several transparent PNGs together
Select multiple PNGs, convert the batch, and review each completed result. A product cutout, a screenshot and a tiny logo may need different quality choices. Download a single image or use Download All as ZIP for the successful conversions; extract the ZIP before adding individual AVIF files to your website.
Batch conversion saves repetitive work, but it does not remove the need to check the output. Start with a representative image before processing a whole asset library. Keep originals in a separate folder so you can make another delivery copy later.
When should you keep PNG instead?
- The receiving website, editor or upload form explicitly requires PNG.
- Small text or precise flat colours look worse in the AVIF copy.
- The original PNG is already smaller or the saving is not worth the trade-off.
- You need a reliable editing master, original metadata or a colour-managed source workflow.
- Your file is animated APNG. This guide covers still images; use an animation-aware converter if motion matters.
For web delivery, test the actual asset in the browsers your audience uses. A PNG fallback can preserve compatibility and transparency where AVIF is unavailable. See the MDN image format guide for format capabilities and browser support, or our WebP, AVIF and JPEG comparison when choosing a delivery format.
Use your AVIF on a website with a PNG fallback
Conversion makes the file; your website still has to serve it correctly. Check that your CMS accepts AVIF, upload the actual AVIF and PNG files, and keep their dimensions and crop consistent. If your media platform handles format delivery automatically, follow its own workflow rather than adding a second conversion layer.
For a page where you control the HTML, this pattern offers AVIF first and PNG when the browser does not support that source type. The paths below use the product files in this guide so you can try them locally. Replace them with your own hosted files, dimensions and descriptive alternative text on your site.
<picture>
  <source
    srcset="/images/blog/png-to-avif-transparency/samples/product-q90.avif"
    type="image/avif"
  >
  <img
    src="/images/blog/png-to-avif-transparency/samples/product.png"
    alt="Amber glass bottle with an ivory pump"
    width="640"
    height="480"
    style="max-width: 100%; height: auto;"
  >
</picture>
Use PNG rather than JPEG for this fallback when transparency matters. The picture element selects a supported source; it is not a general recovery mechanism for an AVIF URL that returns an error. Open both file URLs directly and check the final page on light and dark backgrounds.
The MDN picture element reference explains source selection and the fallback image. A smaller AVIF can reduce image transfer bytes, but changing one format does not guarantee a faster page or a better Core Web Vitals score. Measure the actual page after publishing.
Why do colours or soft edges look different?
Transparency and colour are separate checks. Browser decoding, the encoder, resizing and colour-profile handling can affect the exported appearance. This browser conversion is not an archival copy of your source metadata or ICC profile. Compare the same source and export in the same colour-aware viewer before deciding what changed.
- Colours shifted: compare the original in the same viewer, keep its colour-managed master, and avoid repeated conversion.
- Thin edges look soft: keep the original dimensions and compare a higher quality before changing formats.
- A glow or shadow looks harsh: compare on the actual page background, not only a white preview. Keep PNG when the result is unsuitable.
- The saved file is AVIF, and the destination accepts it.
- Transparent areas reveal both light and dark backgrounds.
- Text, soft shadows and cutout edges still look clean.
- You have compared actual bytes and dimensions.
- Your original PNG is safely kept for future edits.
Convert one image, check the result, and download the copy you want to use.