To make a PNG smaller and keep its transparent background, leave the output set to PNG. In ImageFinch, start at 95 or above for lossless compression, or try 80–94 to reduce the number of colours. Download the result and check its edges against a light and a dark background.
A logo can keep its transparent background and still come out with rough edges or a patchy shadow. That’s why the smallest file isn’t always the best one. Start with the steps below, then use the examples to decide how much compression your image can handle.
Choose your original, compare the result and download a separate PNG copy.
How to compress a PNG: step by step
- 1Open the PNG compressor and select the actual PNG file from your device. Keep the original for another attempt.
- 2Keep PNG output. Set Compression Quality to 95 or above for the lossless encoding path, or start at 80 for a palette of up to 256 colours.
- 3Select Compress Image. Read the output size and inspect important details in the preview.
- 4Download the completed PNG. Open the saved copy and check dimensions, transparency and appearance where you intend to use it.
Your image is processed in your browser. Keep the tab open until it finishes. If a large image makes your phone slow down, try one file at a time; a small download can still contain millions of pixels that need memory to process.
Choose lossless compression or fewer colours
PNG is an image format that supports lossless compression and optional transparency, as defined in the W3C PNG specification. A compressor can still change pixels before saving them. Colour quantization means reducing the number of colours used in the image; it can reduce file size while changing gradients or fine edges.
| Compression Quality | PNG behaviour in ImageFinch | What to inspect |
|---|---|---|
| 95–100 | Lossless encoding of decoded canvas pixels | File size and colour appearance |
| 80–94 | Up to 256 colours | Lettering, shadows and gradients |
| 60–79 | Up to 128 colours | Small colour differences |
| 40–59 | Up to 64 colours | Banding in smooth areas |
| Below 40 | Up to 32 colours | Strong simplification of colours |
A setting of 80 doesn’t mean “80% of the quality” or “80% smaller.” It selects how the encoder saves the image. At 95–100, the encoder preserves the pixels it receives from the browser, but it may not keep the original metadata or colour profile. Keep your source file if those details matter.
How do you check that PNG transparency survived?
Does the downloaded image look white where you expected an empty background? It may just be the viewer. PNG stores transparency as an alpha channel, which allows pixels to be partly or fully transparent. Check the saved file over two different backgrounds before deciding that the transparency is gone.
If you saved as JPG, the background really has changed: JPEG cannot store transparency. Changing the extension back to .png won’t fix it. Open your original transparent image and make a new PNG export.
- 1Open the downloaded PNG in an editor that shows transparency as a checkerboard. A plain white image viewer is not a reliable transparency test.
- 2Place a temporary dark layer behind the PNG, then a light layer. Transparent areas should reveal each background; inspect the flower, logo or cutout edges and soft shadows.
- 3If a white rectangle remains on both backgrounds, return to the transparent original and export PNG again. If only the edges look rough, try 95–100 before reducing the palette. Keep these background layers out of the final PNG export.
Three real PNG compression examples
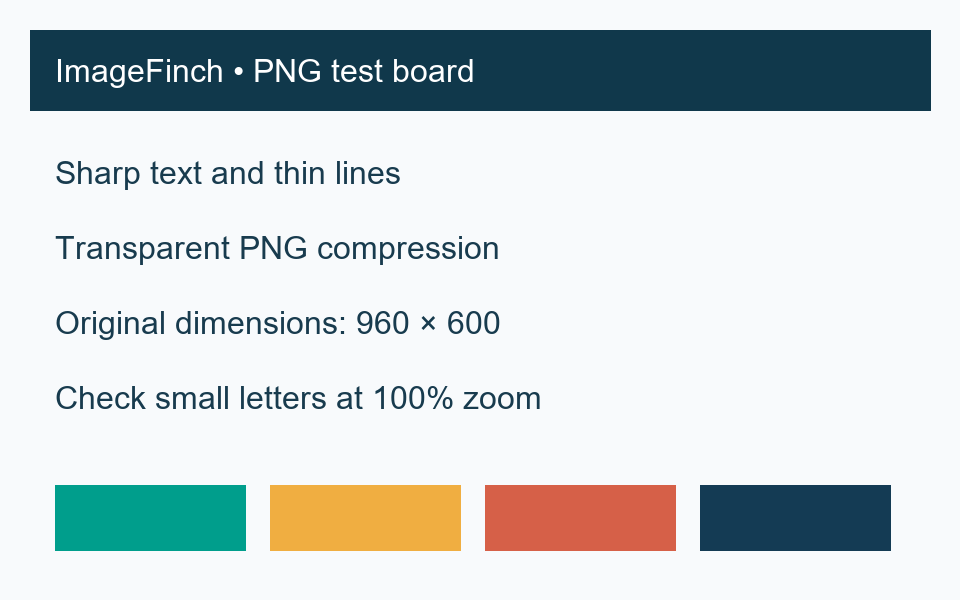
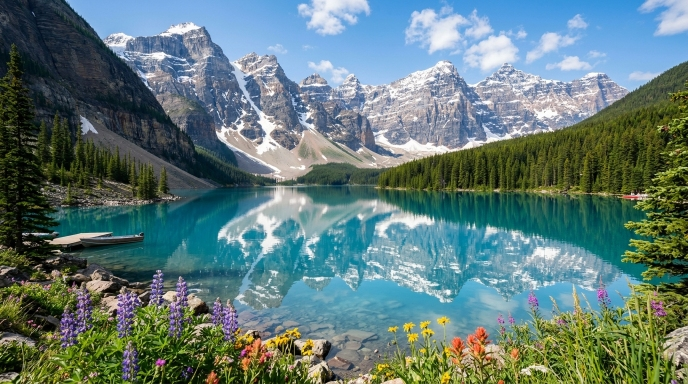
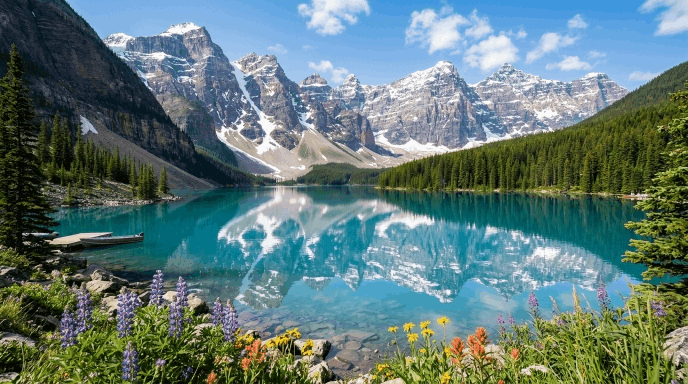
We compared a transparent graphic, a text board and a landscape at the 256-colour setting used by ImageFinch at quality 80–94. Each output kept the original width and height. Start with the sample closest to your own image, then inspect the downloadable files at full size.
Test method: on October 31, 2026, we ran the site’s upng-js encoder directly in Node and reopened the outputs to check dimensions. This tests the encoding stage, not the complete browser workflow. The graphic was re-saved as PNG, the text board was created for this guide, and the landscape JPEG was saved as PNG first. These prepared samples explain the trade-offs; they do not predict savings for every file.
| Sample | Original PNG bytes | Output PNG bytes | Dimensions |
|---|---|---|---|
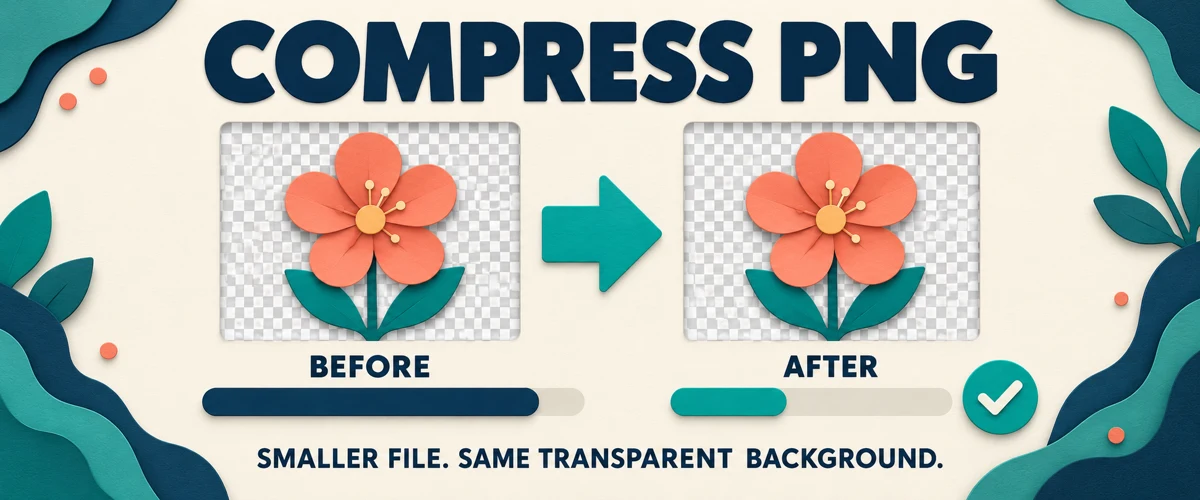
| Transparent graphic | 5,253 | 2,990 | 480 × 320 |
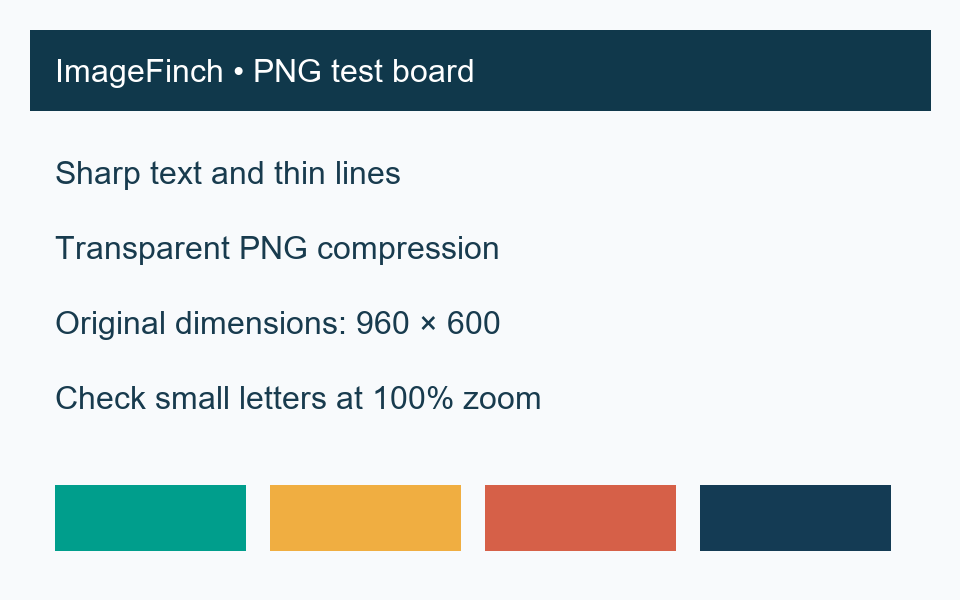
| Text board | 36,388 | 17,258 | 960 × 600 |
| Landscape photo | 619,435 | 163,414 | 688 × 384 |
The transparent graphic dropped from 5,253 to 2,990 bytes without a change in width or height. Your file may shrink by much less, especially if it has already been optimized. When a PNG re-encode at unchanged dimensions would be larger, ImageFinch keeps the original instead.
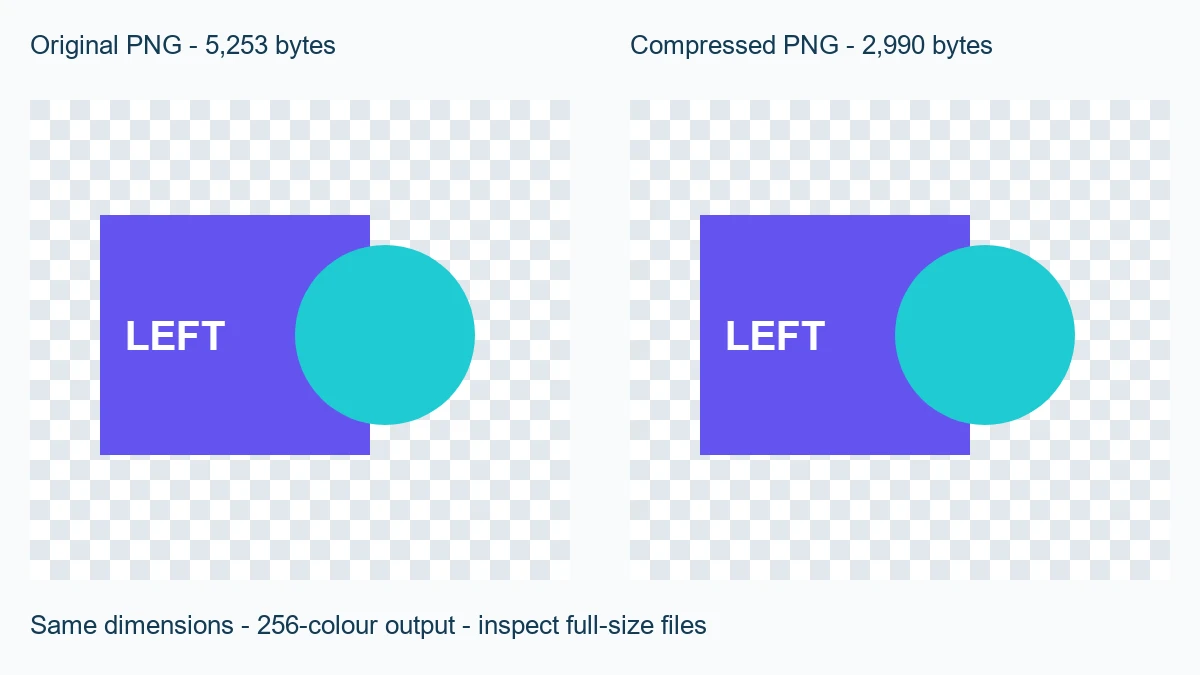
Look closely at the outline and soft shadow in the graphic above. These are the places where a smaller palette can change the result. The checkerboard helps you see the empty areas; it isn’t part of either downloadable PNG.
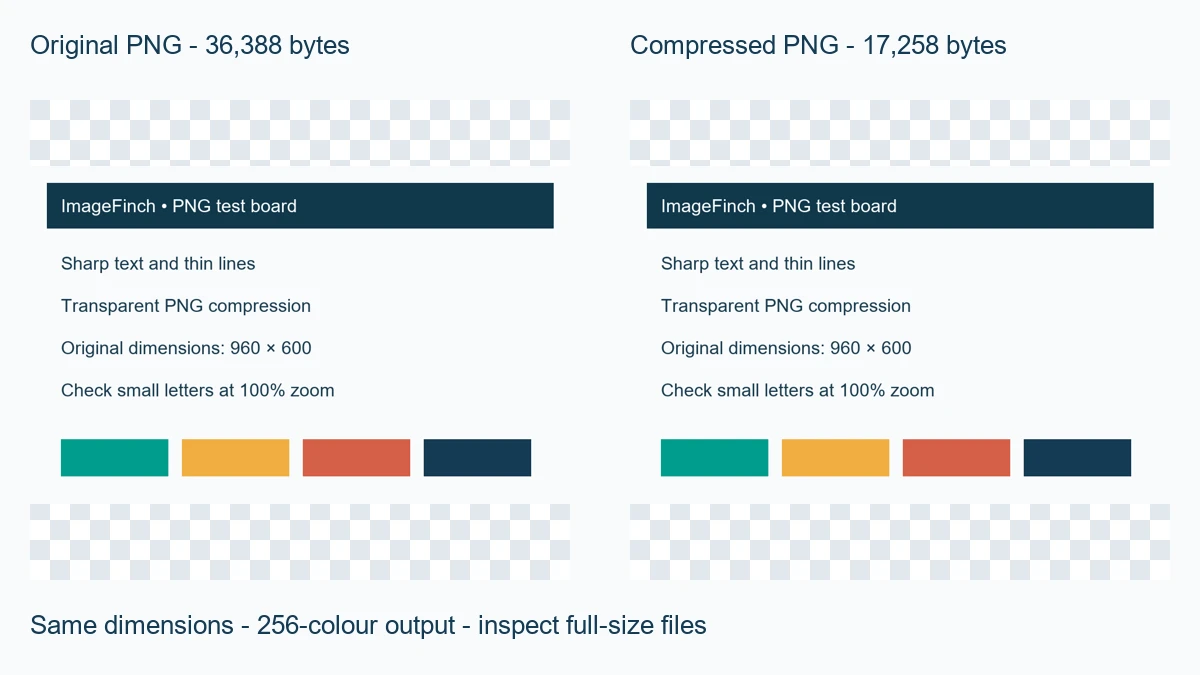
Small lettering is the useful test here. Open the text board at 100% zoom and compare the letter edges. Both versions can look fine when squeezed into a blog image, even when the full-size files differ.
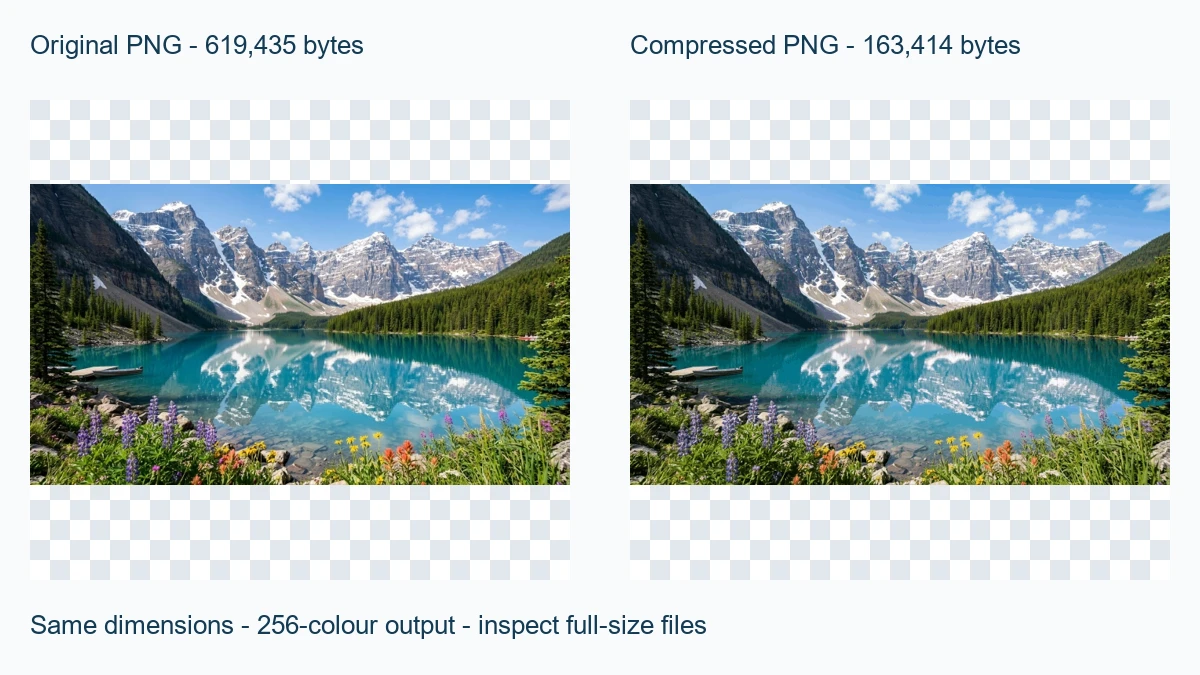
The landscape gets much smaller, but check the sky and shadows before choosing it. Limiting a photo to 256 colours can turn a smooth gradient into visible bands. If you notice that in your own image, raise the setting rather than accepting the smaller file just for its size.
- logo: original PNG sample
- logo: compressed PNG sample
- text: original PNG sample
- text: compressed PNG sample
- photo: original PNG sample
- photo: compressed PNG sample
- Logo or screenshot: try 80–94, then inspect small text and transparent edges.
- Photo or soft gradient: compare 95–100 first if colour accuracy matters.
- Already small enough: keep the original if compression adds no useful saving.
- Still too large: check whether resizing or WebP is allowed before changing either.
Why is my PNG file so large?
A PNG may be large because it has more pixels than you need, lots of fine detail, or an inefficient export. A simple icon is easier to compress than a photo full of leaves and shadows. Displaying a large image as a tiny thumbnail doesn’t reduce the bytes in the file itself.
Check the dimensions your website or upload form actually needs. If a 3,000-pixel image will only be used at 600 pixels, a smaller copy may be enough. Resize from the original and look at the result: text can soften, and small details can disappear.
Use the image resizer when smaller dimensions are allowed. If the destination accepts WebP, compare a copy from the PNG to WebP converter. WebP supports transparency, but changing formats does not guarantee a smaller file.
Compress a PNG to 100KB, 200KB or another limit
A quality setting cannot guarantee an exact file size. Check whether the form requires PNG, specific dimensions and a maximum byte count. Try an acceptable palette first, then reduce dimensions only if the rules allow it. Some detailed images cannot fit a tiny limit with acceptable quality at their original dimensions.
When a transparent background is required, keep PNG selected in the target-size workflow too. That tool can reduce dimensions while seeking a byte limit, so check its reported width and height. A smaller JPG would not satisfy a transparency requirement.
Use the target-size compressor for a strict limit, then verify its output format and dimensions. The 100KB upload checklist explains why a small file can still be rejected.
Fix common PNG compression problems
| Problem | What to do |
|---|---|
| The output is not smaller | It may already be optimized. Try a smaller palette, permitted dimensions or another accepted format. |
| The background looks white | Check in an alpha-aware viewer; confirm the saved file is PNG, not JPG. |
| A shadow or gradient looks rough | Raise the palette setting or try 95–100, starting from the original. |
| Text looks blurry | Check at native size and avoid unnecessary resizing. |
| The file will not upload | Check the actual file type, bytes, dimensions and destination rules. |
| An animated PNG lost motion | This guide covers still images. Use an animation-aware workflow for APNG. |
Compress several PNG files together
Select several PNGs, review the results individually and download the completed images. Use smaller batches if your device struggles. Different files may need different settings, especially when a batch mixes photographs with logos. A ZIP is a package of files: extract an individual PNG when a form requires an image.
See the batch compression guide for the ZIP download workflow.
- Keep the original file.
- Check bytes and dimensions against the destination requirements.
- Inspect text, gradients and edges at 100% zoom.
- Check transparent areas over light and dark backgrounds.
- Choose a usable result rather than judging only by its size.
Start with one file, compare settings and download the version that passes your checks.
- W3C PNG specification: image representation and transparency
- Google WebP documentation: compression and transparency support