To compress multiple images at once, open the bulk image compressor, select your images, choose an output format and quality, then run Compress All. Review the results and choose Download ZIP to save the completed images together. If you only need one attachment with unchanged photos, zip the originals instead.
Choose your images, set quality and output format, then compress the batch. Review the finished copies before downloading your ZIP.
- Smaller image files: optimize the images first, then download the ZIP.
- One attachment with original files: create a ZIP without re-encoding the photos.
- An upload form asking for JPG or PNG: extract the ZIP and upload the individual images.
- One merged picture or PDF: a ZIP does not combine the images visually.
Those two jobs are easy to confuse. A ZIP is a container holding separate files. Compressing a photo changes its saved image data; putting that photo into a ZIP usually offers a much smaller additional saving. Keep your originals so you can try another setting without repeatedly editing an already compressed copy.
How to batch compress images with ImageFinch
For a store gallery or a client handoff, start with a few representative files: one detailed photo, one darker photo, and any logo or text-heavy graphic. Decide what the receiving website or person accepts before converting the whole batch.
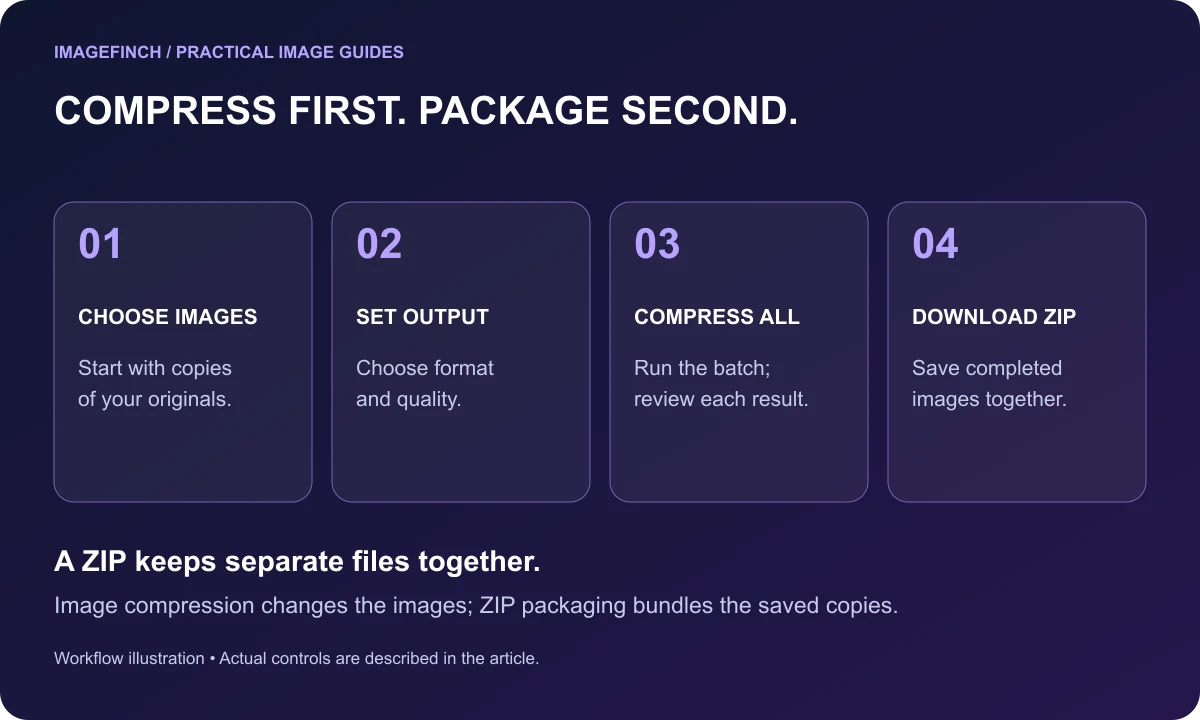
- 1Open the bulk image compressor and choose the image files. Wait for them to finish loading. Selecting files does not start compression.
- 2Set Output Format. Choose JPG, WebP, AVIF or PNG when you need a particular output. Keep Original uses the input’s reported format where supported; for HEIC/HEIF, choose an explicit output such as JPG. Check the destination’s accepted formats first.
- 3Set Compression Quality. For ordinary photos, try the default 80 as a starting point. This is a trial setting, not a guarantee of a particular size or appearance.
- 4Click Compress All (the button also shows your image count). Wait for the results. Changing a setting alone does not produce a new export: run the batch again when you want those changes applied.
- 5Inspect the individual results and any errors. Compare file sizes and preview important detail before accepting the batch.
- 6Choose Download ZIP. Save compressed_images.zip, extract it, and check the files inside before sending it on.
You can select up to 100 files at a time. Each file must be no larger than 100 MiB (104,857,600 bytes). Your phone may need a smaller batch: a high-resolution photo takes memory to open even if its saved file looks small. Try a few images first, save the results, then continue with the next group.
Use the advanced maximum width and height controls when you also need fewer pixels. The tool keeps the photo’s proportions. Leave these fields blank to keep its current dimensions. If you set a target size, it applies to each image separately. You still need to check the downloaded ZIP against any limit on the whole attachment.
Measured example: ZIP originals or compress first?
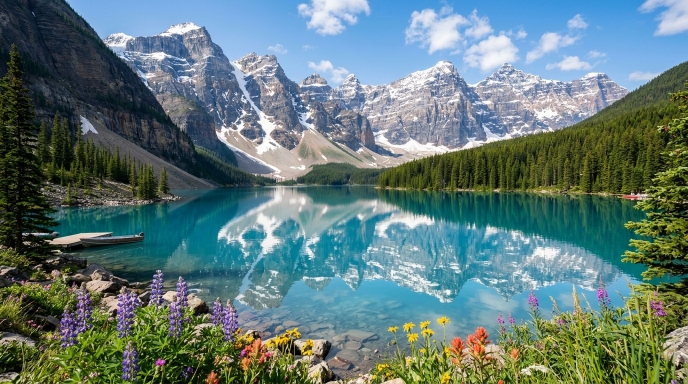
We packaged two public demonstration photos in a new test on October 18, 2026. One archive contained the original JPGs. The other contained their existing JPG quality-80 exports, measured on October 16. This was a ZIP-packaging comparison using saved files, not a fresh browser encoding run or a test of other services.
| File or archive | Original copies | Optimized JPG copies |
|---|---|---|
| Landscape · 688 × 384 pixels | 248,727 bytes | 82,160 bytes |
| Portrait · 1264 × 848 pixels | 769,427 bytes | 149,292 bytes |
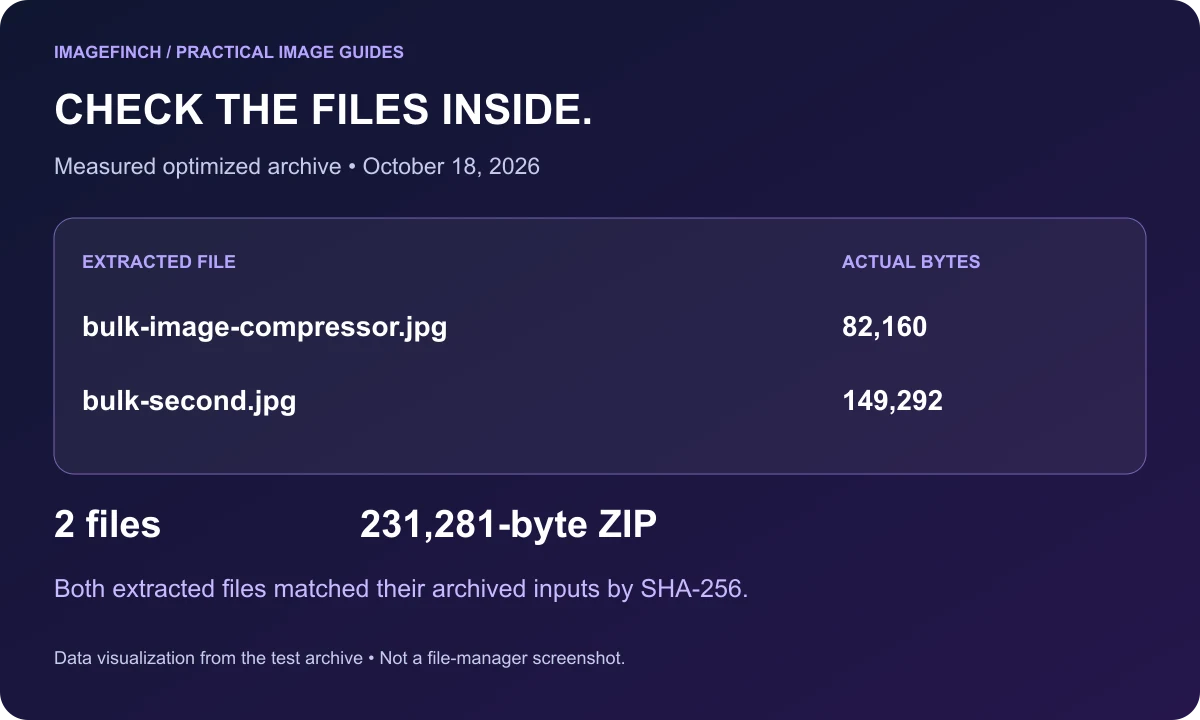
| Combined image bytes | 1,018,154 bytes | 231,452 bytes |
| ZIP archive bytes | 1,015,527 bytes | 231,281 bytes |
| Extra saving from ZIP packaging | 0.26% | 0.07% |
The optimized ZIP was 77.23% smaller than the original ZIP in this two-photo sample. Almost all of the reduction came from the image exports: zipping the originals alone saved just 2,627 bytes. JPEG already compresses image data, so another compression layer may have little left to remove. Your files, formats and settings can produce very different results, including a larger output.
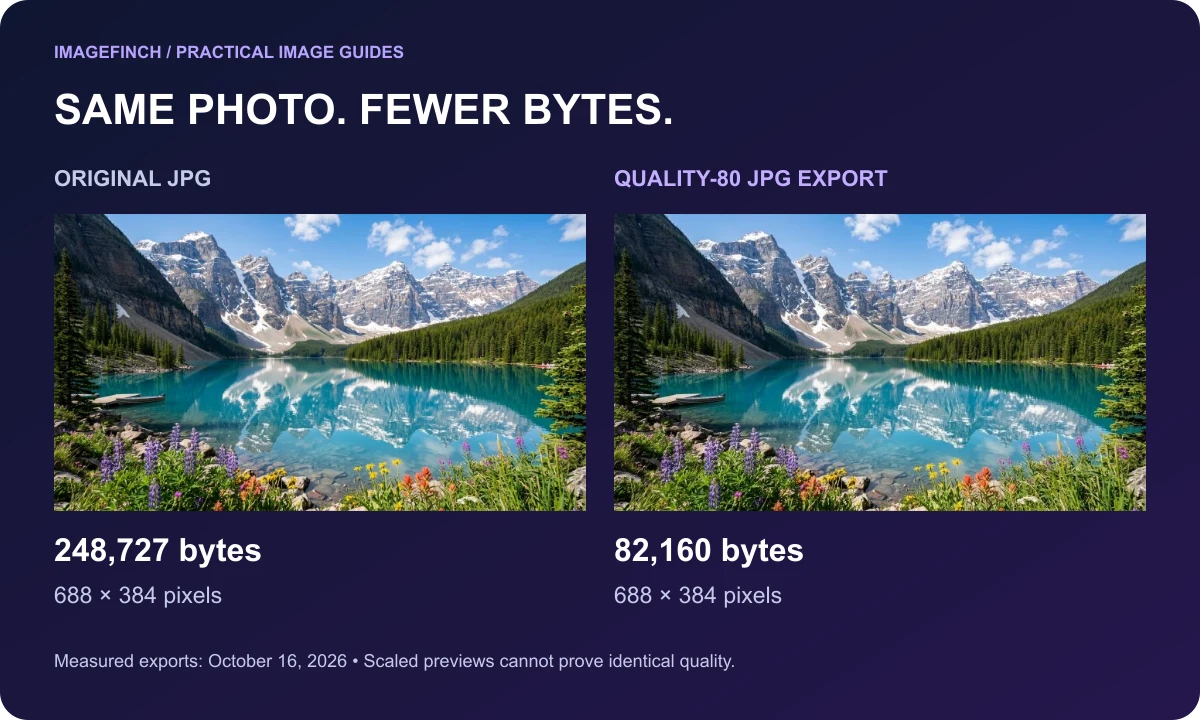
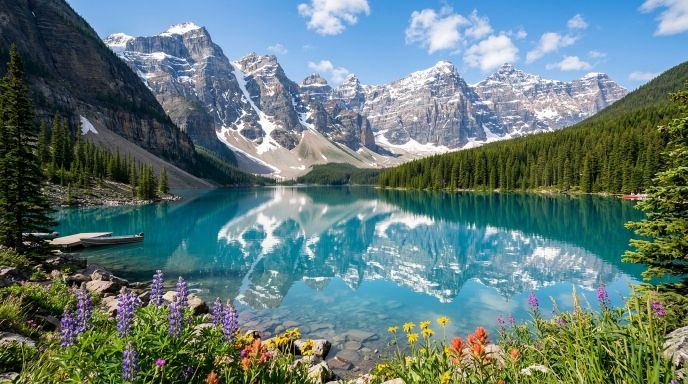
You can inspect the full-size original landscape JPG and optimized landscape JPG. Look at fine branches, distant rock detail and edges. Equal pixel dimensions do not mean equal image data or lossless quality.
We also checked what happened after extraction. Every image came back with exactly the same file bytes that went into its ZIP. We verified this using SHA-256, a digital fingerprint of a file. That check covers the ZIP step; the earlier JPG compression can still change picture detail. To make the packaging test repeatable, we used JSZip with DEFLATE level 1, the same archive settings used by the tool.
Pick settings for photos, logos and screenshots
| Image type | Useful starting point | Check before accepting |
|---|---|---|
| Product and everyday photos | Try JPG quality 80 if the destination accepts JPG. | Fine texture, dark gradients and edges. Increase quality if damage is visible. |
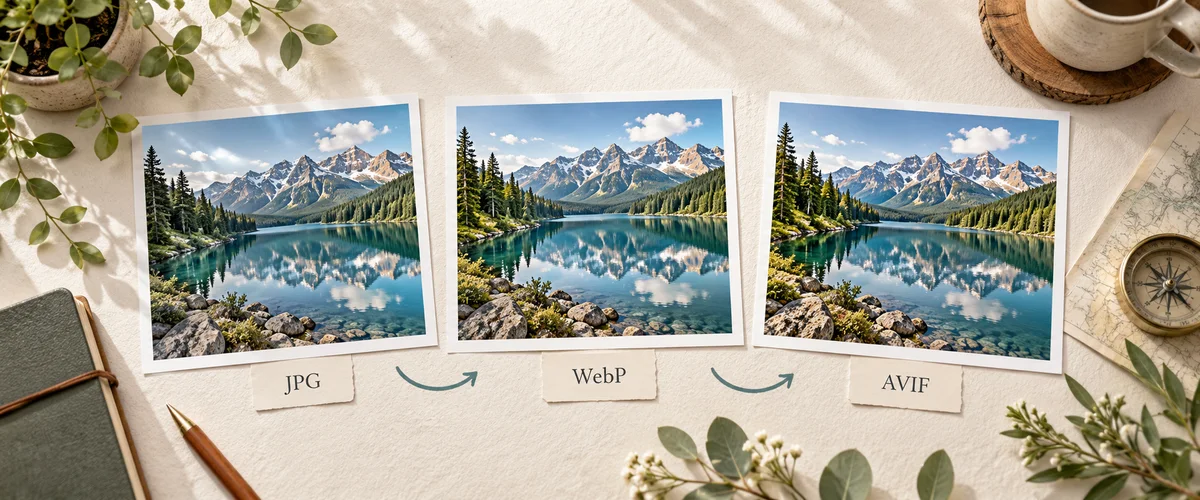
| Photos for a website | Try a WebP or AVIF copy if your website accepts that format. | Upload a sample to your site, check that it displays, and compare its file size. |
| Transparent logos or cutouts | Keep PNG, or use a supported format that preserves alpha. | Transparency. JPG cannot preserve a transparent background. |
| Screenshots and small text | Try PNG first; compare other accepted formats carefully. | Letter edges, icons and thin lines at full size. |
| Mixed photos and graphics | Split into groups when one shared setting is unsuitable. | A photo setting can damage a text-heavy graphic. |
Use the JPG, WebP and AVIF guide to choose a format for your destination. If a form asks for a smaller width or height, follow the image dimensions guide. For example, a 1200-pixel width limit needs resizing; a 200 KB file limit needs you to check the saved bytes. You may need both.
Extract the ZIP and verify the handoff
After extracting the ZIP, count the images and open the saved copies. The count should match the completed results in the tool; a file that failed processing will not be in the archive. If two outputs would have the same name, the tool gives them different names. Check those filenames before handing the folder to someone else.
- Check your largest photo, a text-heavy image and any transparent graphic. View them at full size so a small preview does not hide damaged detail.
- Verify the saved pixel dimensions if a website specifies width or height.
- Check each file’s actual size when there is a per-image KB limit. The ZIP size does not tell you whether every image meets it.
- Test one extracted image in the receiving app or upload form before sending the whole batch.
For a strict individual upload limit, use the 100 KB compression guide and check the destination’s definition of KB. Keep an untouched source copy until the final upload succeeds.
Only need to zip photos without changing them?
If your photos already fit the recipient’s requirements, use your device’s ZIP command to put them in one attachment. The images inside keep their original file data. Choose the instructions for your device below; menu names can vary with the software version.
On Windows, select the files and use the ZIP command in File Explorer. Microsoft describes right-click → Show more options → Send to → Compressed (zipped) folder. See Microsoft’s ZIP and unzip instructions for the current steps.
On a Mac, select the images in Finder, Control-click, then choose Compress. Multiple items are packaged as Archive.zip. Follow Apple’s Mac archive instructions to extract or rename the archive.
For iPhone and iPad, start in the Files app with the images you want to package. Tap More → Select, choose the images, then tap More → Compress. See Apple’s iPhone and iPad ZIP guide for the illustrated steps. Android menus depend on the phone and file-manager app, so use that app’s help to find its archive command.
When the result is not what you expected
| What happened | What to check | Next step |
|---|---|---|
| The ZIP barely shrank. | Did you zip already compressed JPG, WebP or AVIF files? | Optimize the images first if smaller files are needed. ZIP alone may save very little. |
| An image became larger. | Check whether you changed its format or started with an already-small file. | Keep the version that meets your size and quality needs. When the format and dimensions stay the same, the tool may keep the original if a new export would be larger. |
| An image is missing. | Look for a per-file error and count completed results. | Retry the failed file separately or in a smaller group. |
| The phone slows down or stops. | Large pixel dimensions and other open apps can exhaust memory. | Use fewer files per batch and save completed results. |
| The form rejects the ZIP. | Does it accept only individual image formats? | Extract the archive and upload the accepted images. |
| A GIF will not enter the batch. | The still-image batch workflow rejects animated GIFs. | Use the GIF compressor for the moving image. |
The current batch tool accepts supported raster inputs such as JPG, PNG, WebP, AVIF and HEIC/HEIF. It takes image files, not an input ZIP or a folder tree. For animation, use the GIF compressor and check the moving result.
Start with a few images, compare their saved results, and download the completed copies in one ZIP.