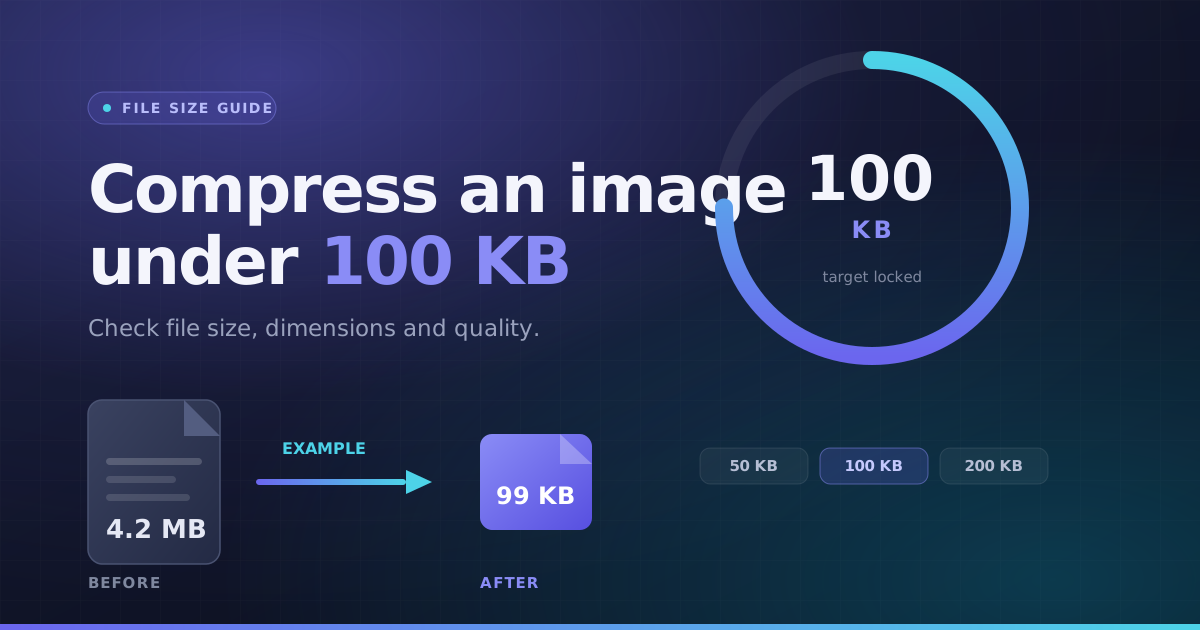
A 100 KB limit describes a maximum file size. It does not normally require exactly 100 KB, and it says nothing about the image’s width, height or format. Start by reading all of the upload instructions; otherwise you can produce a small photo that the form still rejects.
1. Write down all the upload requirements
| Requirement | What to check |
|---|---|
| File format | JPG/JPEG, PNG or another explicitly accepted format |
| Maximum bytes | The stated KB or MB ceiling |
| Pixel dimensions | Minimum, maximum or exact width and height |
| Composition | Any rules about the subject, background or crop |
For a document application, use the issuing authority’s instructions. Do not assume an image editor can make an unsuitable photo acceptable. If the service asks for an unaltered original, follow that workflow instead of repeatedly editing the file.
2. Choose the output format for the content
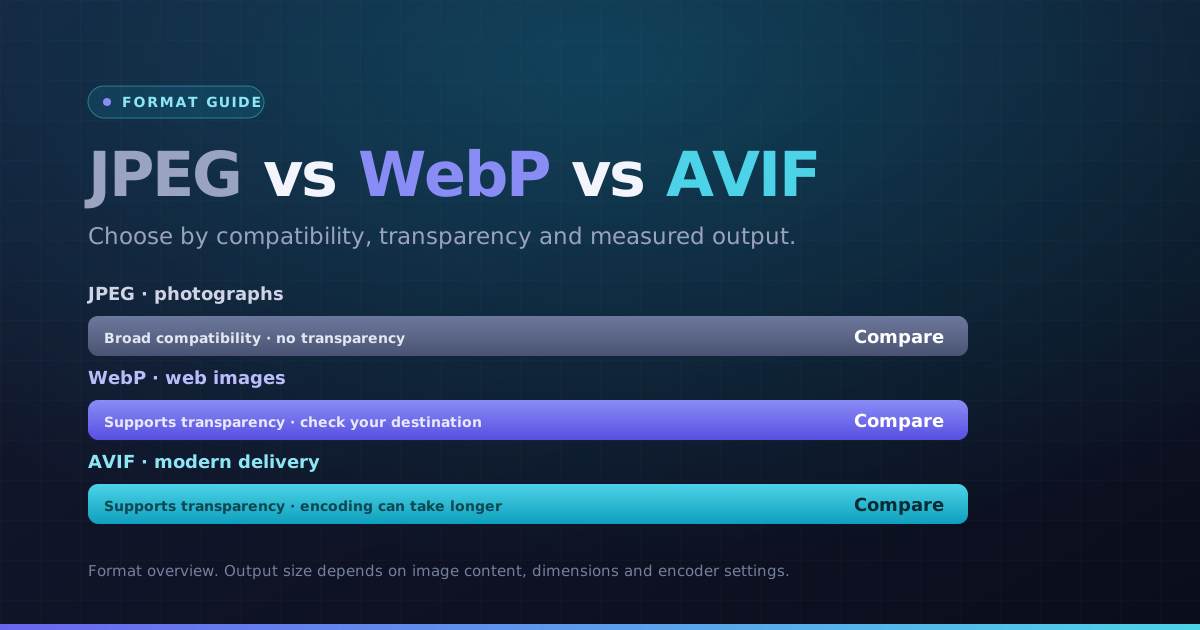
JPEG is often useful for an opaque photograph. PNG can be appropriate for transparent artwork or a screenshot where sharp text matters. A PNG photograph can be much larger than a JPEG, but changing formats is still a trade-off: JPEG cannot keep transparency and can introduce artifacts.
3. Set a target and inspect the result
- 1Choose the original image and set the target to 100 KB.
- 2Select a format accepted by the destination and start compression.
- 3Read the fits-target status, actual output bytes and final dimensions.
- 4Preview text, faces and edges before downloading the result.
The tool searches quality settings and may reduce dimensions when necessary. PNG target-size processing reduces dimensions rather than applying a JPEG-style quality setting. Some combinations of file size, dimensions and useful visual quality cannot be achieved.
4. Understand KB rounding and strict limits
This tool uses 1 KB = 1,024 bytes. Some services use decimal kilobytes, where 100 KB means 100,000 bytes. If the form is strict, leave a margin: a 97 KB target here represents 99,328 bytes. This is arithmetic, not a promise that every source image can reach that size.
5. Check dimensions after compression
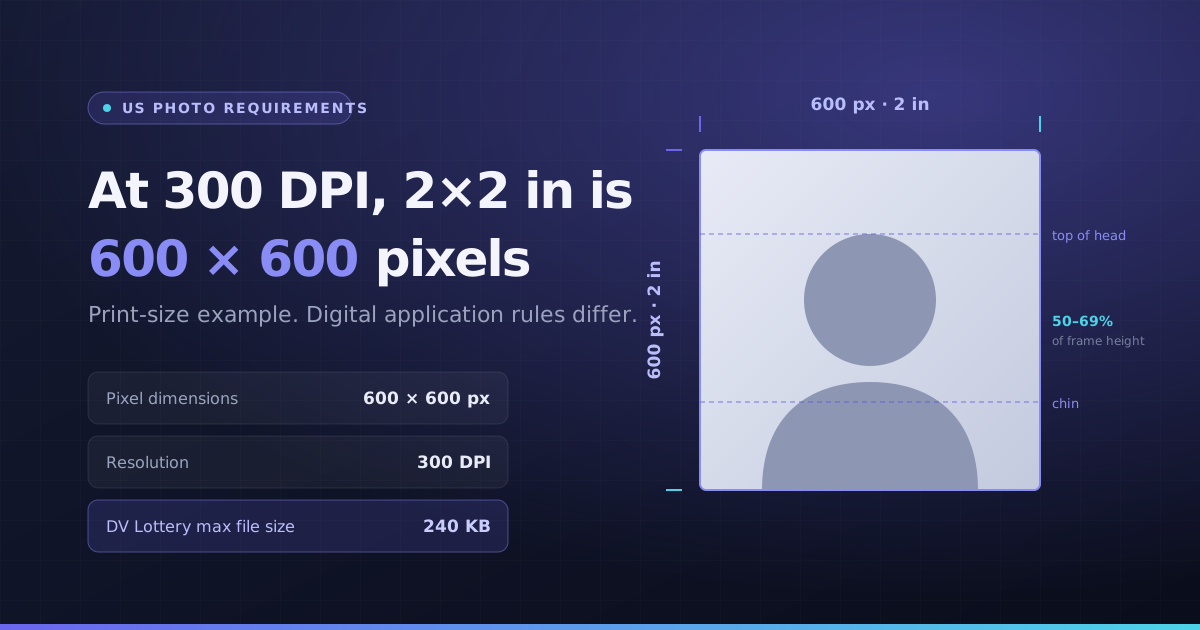
Suppose the form requires both 600 × 600 pixels and no more than 100 KB. A 480 × 480 result may satisfy the byte limit but fail the pixel requirement. Use a suitable original, inspect both measurements and avoid enlarging a tiny photo just to make its dimension label pass.
Troubleshoot a file that is still rejected
- Open the downloaded file and confirm it is the right format; renaming an extension does not convert it.
- Check exact bytes rather than a rounded size label.
- Check orientation, aspect ratio and minimum dimensions.
- If the image is unreadable at the required size, start with a clearer source rather than applying more compression.
For 50 KB or 200 KB, the same workflow applies with a different ceiling. Keep the original and avoid treating the lowest possible file size as the only measure of success.