To reduce image dimensions, enter a smaller width or height in pixels and keep the aspect ratio locked. Let the other number adjust with it. This keeps the photo's shape. If you need a different shape, such as a square, crop it first instead of squeezing it into two new numbers.
You can start with the ImageFinch image resizer. For a simple image resize, enter one smaller dimension with the aspect ratio locked. Keep your original file so you can try another size without working from an already resized copy.
Check whether you need fewer pixels or fewer KB
An image can be too wide, too heavy to upload, or both. Check the destination's message before changing anything.
| What the website asks for | What to change |
|---|---|
| A maximum width of 1200 pixels | Reduce the width while keeping the photo's proportions |
| Exactly 600 × 600 pixels | Make the image square, then resize it |
| A file below 100 KB | Check file size and use compression if needed |
| A particular file type | Export or convert to an accepted format |
When you need to resize image pixels, change the width or height. KB and MB describe the amount of stored data. A 1200-pixel-wide photo does not have one fixed file size: its content, format, and compression settings also matter.
If your problem is an upload limit, follow our guide to compressing an image to 100 KB.
Choose the right pixel dimensions before you resize
Start with the place where the image will be used. An upload form may give an exact size, a maximum width, a maximum height, and a file-size limit. Write those down together. If it asks for a maximum of 1200 pixels wide, the image does not need to become square. If it asks for exactly 600 × 600, both the size and the shape matter.
For a website or blog
Use the space available in your page layout as a starting point. For example, an image displayed at 600 CSS pixels wide could use a 1200-pixel-wide source when the design calls for a 2× version. That is an example, not a universal blog-image rule. Responsive layouts, device pixel density, and your site’s image handling can change the right choice.
Avoid shrinking a picture only because the smaller number looks tidy. A detailed chart, screenshot, or image with small text may need more pixels than a simple decorative photo. Check the actual page on a phone and a desktop. If labels become hard to read, keep a larger source or simplify the graphic.
For a form, profile photo, or product listing
Follow the destination’s current instructions. A product image, profile photo, and document photo can all have different requirements even when their pixel dimensions match. Resizing can prepare the width and height; it cannot check whether the subject, background, composition, or document-photo rules are acceptable.
Reduce image dimensions in ImageFinch
1. Open your image before choosing a size
Open the resizer and choose your file. Read Original Dimensions so you know your starting width and height. For this method, enter a custom dimension after the image has loaded.
2. Keep the aspect ratio locked
Check the lock between Width (pixels) and Height (pixels). With the aspect ratio locked, changing one field updates the other to match your original photo.
Aspect ratio simply means the relationship between width and height. To resize an image without distortion, keep that relationship unchanged. A photo that is twice as wide as it is tall should stay twice as wide after resizing.
3. Enter the smaller dimension you need
Change the width, then check the calculated height. If your destination also has a maximum height, make sure both numbers fit. You can enter the height instead if that is the tighter limit.
Avoid choosing a preset with a different shape from your original. Check both numbers after any preset selection; use cropping when the required shape changes.
4. Resize, download, and inspect
Choose the output format your destination accepts, click Resize Image, then Download Resized Image. Open the saved file and check its dimensions and appearance. Look at small text, faces, and fine edges at the size people will actually view it.
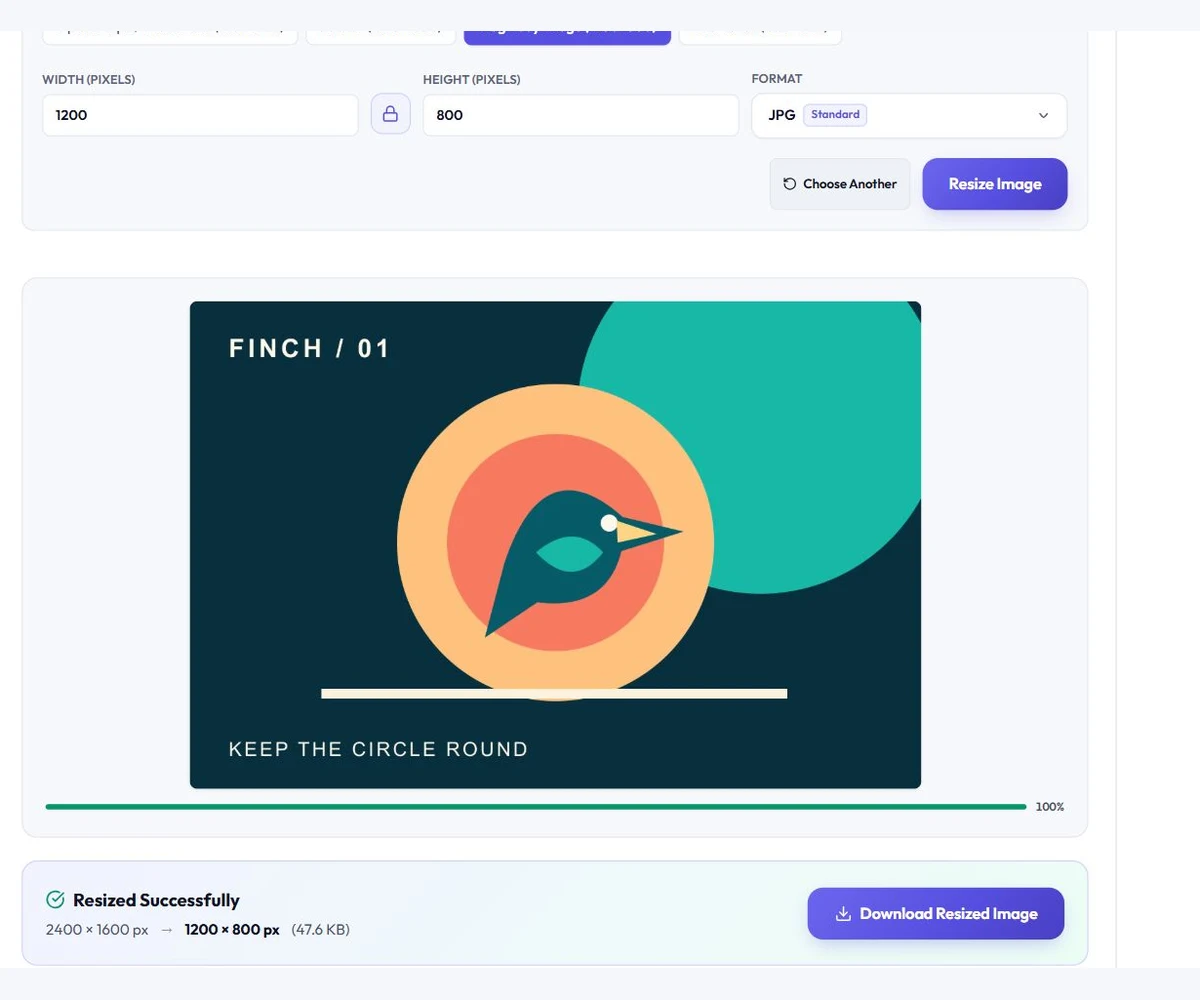
What the real tool example shows
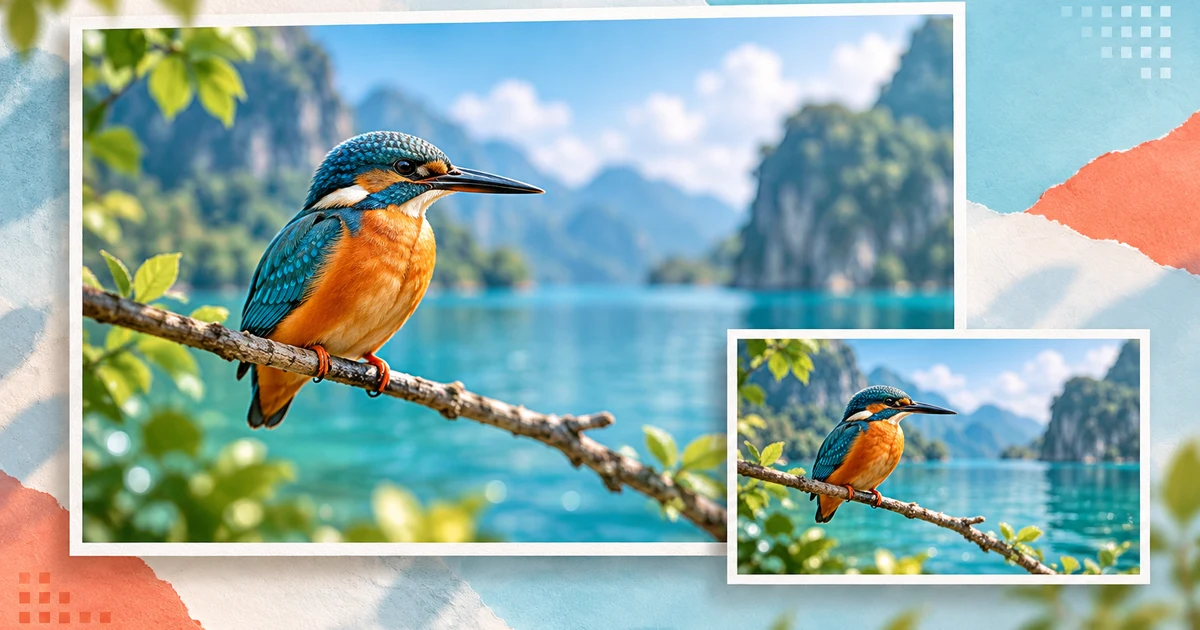
The screenshot above uses an original 2400 × 1600 illustration. With the ratio locked, entering a width of 1200 produced an 800-pixel height, and the result preview was 1200 × 800. The circle around the bird stayed round. This is a useful shape check: a squeezed face or an oval where there should be a circle suggests that the proportions have changed.
This example shows one image and one resize. It does not prove that every photograph will have the same sharpness or file size. Your own result depends on the source, the chosen dimensions, and the output format. Keep your original so you can compare the two at the size you actually need.
A simple example: 2400 × 1600 to 1200 × 800
Suppose your photo is 2400 × 1600 pixels and you need it to be 1200 pixels wide. Halving the width also halves the height, giving 1200 × 800 pixels.
For another size, use:
New height = original height × new width ÷ original width
This is a calculation example, not a measured file-size result. Halving both dimensions leaves one-quarter as many pixels, but it does not guarantee a file that is exactly one-quarter as large.
Fit an image within both a width and a height limit
Sometimes the destination gives a bounding box, such as “no more than 1000 × 500 pixels.” That does not necessarily mean you should type 1000 and 500 into an unlocked resizer. To keep the whole photo in proportion, use whichever limit requires the bigger reduction.
- 1Enter 1000 in Width with the ratio locked. The height becomes about 667, which exceeds the 500-pixel ceiling.
- 2Enter 500 in Height instead. The width becomes 750.
- 3Check the resulting 750 × 500 dimensions: both are within the maximum limits.
- 4If the destination requires exactly 1000 × 500, choose a matching crop or an editor with canvas padding instead.
Convert a percentage into pixel dimensions
If you want to reduce an image by a percentage, calculate the new width first. Multiply the original width by the percentage you want to keep, then divide by 100. To keep 75% of a 2400-pixel width, calculate 2400 × 75 ÷ 100 = 1800. Enter 1800 in Width with the lock on; a 1600-pixel height becomes 1200.
Be clear about the wording: “keep 75%” means a 25% reduction in each dimension. “Reduce by 75%” means keep 25%. The ImageFinch workflow in this guide uses the pixel fields, so you enter the calculated number yourself. Round to a whole pixel and check the other field before resizing.
| Starting image | What you need | Proportional output |
|---|---|---|
| 2400 × 1600 | 1200 pixels wide | 1200 × 800 |
| 2400 × 1600 | Maximum 1000 × 500 | 750 × 500 |
| 1600 × 2400 | 1200 pixels high | 800 × 1200 |
| 2400 × 1600 | Keep 75% of each dimension | 1800 × 1200 |
Need a square image? Crop before resizing
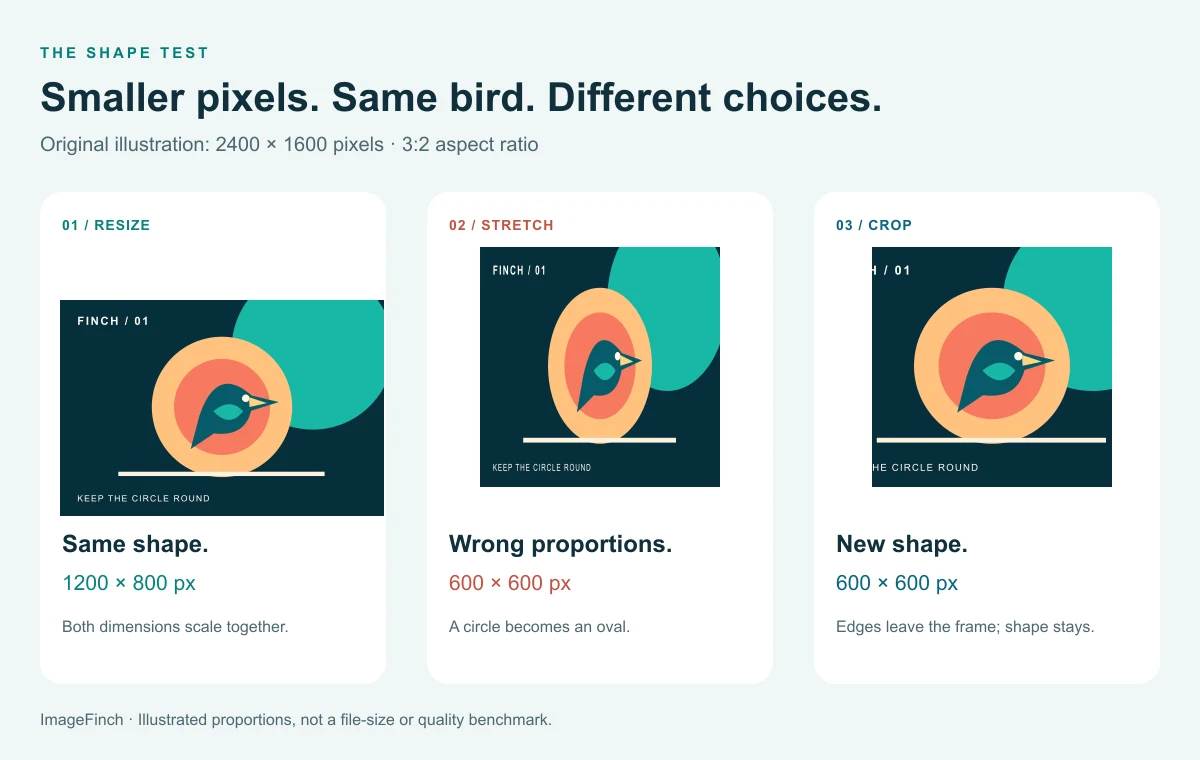
A 2400 × 1600 landscape photo and a 600 × 600 square have different proportions. Entering the square dimensions directly stretches the photo.
To crop an image to a square, choose a 1:1 Square crop in ImageFinch. Position it so the important subject stays inside the frame, then save the cropped image. Open that file in the resizer and set the required dimensions.
Cropping removes part of the picture. If you must keep the whole frame inside a square, use an editor that can add canvas space around it. A plain resize cannot preserve the whole frame, fill a different shape, and avoid distortion at the same time.
Can you resize an image without losing quality?
Reducing pixel dimensions removes image information. A smaller picture can still look good at its intended display size, but it will not retain every detail of the original. Adobe's explanation of image size and resampling describes how pixel counts change.
If you are looking for how to resize a photo without losing quality, aim to preserve a clear appearance at the intended viewing size. Pixel reduction still removes information. Start from the clearest original, resize once, and inspect the saved result. Keep enough pixels for the destination. Enlarging a small or blurry source does not recover its missing original detail. For image resizing, the goal is enough detail for the destination, rather than the smallest possible dimensions.
Match the format to the picture
For a normal photograph, JPG is often a practical option when the destination accepts it. PNG can be useful for graphics that need transparency. If you export a transparent image to a format that does not support transparency, check the background in the saved result. The format accepted by your destination comes first; a smaller file is not useful if the form rejects its type.
Compare at the intended viewing size
A smaller image will look softer if you enlarge it to cover the same area as a much larger original. Compare it at the display size you plan to use. Inspect hair, lettering, edges, and any important detail. If the image is too soft, return to the original and try larger dimensions. Repeatedly resizing a small exported copy cannot restore the detail already removed.
Fix common resizing problems
| Problem | What to check | Next step |
|---|---|---|
| Faces look narrow or wide | Original and output proportions differ | Return to the original and enter one dimension with the lock on |
| A square preset distorts the photo | Source photo is rectangular | Crop to a square before resizing |
| The file is still too large | The limit is in KB or MB | Compress the resized file, then check its dimensions again |
| Small text is difficult to read | Output dimensions are too small | Try a larger output if the destination allows it |
| The upload is still rejected | Format, dimensions, and file-size rules may all apply | Check each requirement against the downloaded file |
Does lowering DPI make an image smaller online?
Changing a DPI or PPI value alone does not reduce the pixel count. For a website's pixel limit, change width or height in pixels. Printing has separate size and resolution requirements.
Can I resize PNG without losing quality?
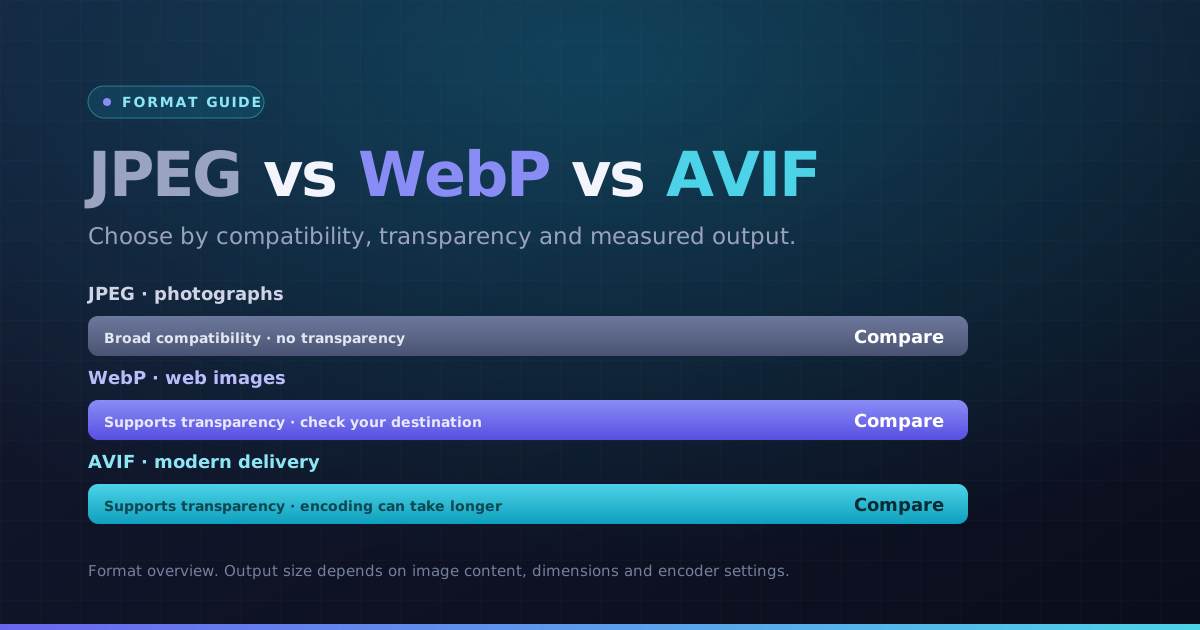
Reducing a PNG's width or height still removes pixels; keeping the PNG format does not make that change lossless. Inspect text and transparent edges at the intended size. Choose a format your destination accepts. If you are deciding between formats, our WebP, AVIF, and JPEG guide explains the trade-offs. Check transparency and appearance after export rather than relying on the filename alone.
Use the image resizer to reduce image dimensions with one smaller width or height and the ratio locked, then verify the saved result before uploading it.
Check the downloaded image before uploading it
The last check is the file you saved, not only the numbers entered in the tool. Give the copy a clear name, such as product-photo-1200x800.jpg, and keep it separate from the original. A useful filename helps you find the right version later, but the filename itself is not proof of the image’s dimensions or format.
- Open the saved image or its file information and confirm the actual width and height in pixels.
- Check whether the destination asks for exact dimensions, a maximum, or a minimum.
- Check the file size in KB or MB if the upload has a byte limit.
- Confirm that the output format is accepted and any transparent background still looks right.
- Look for stretched proportions, cropped subjects, unreadable text, and soft details.
- Upload the checked copy, keeping the original available for another attempt.
If the dimensions are correct but you still need to reduce image size in KB, compression is the next step. Check the compressed output again, because meeting a very small byte limit can also require fewer pixels. If the upload still fails, read its message carefully instead of making the picture smaller at random. The remaining issue may be its format, shape, or another requirement.