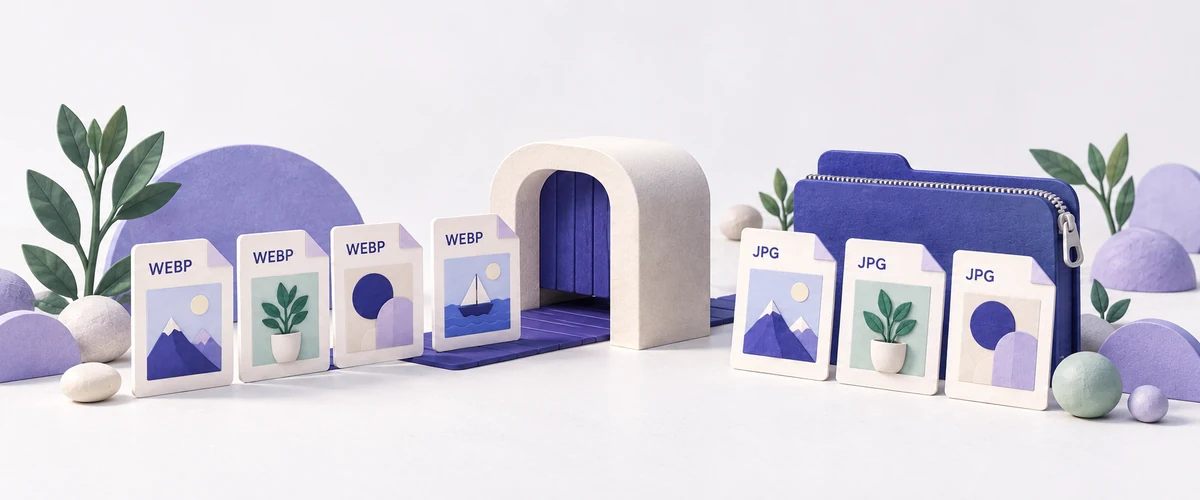
If an upload form or app asks for JPG but your pictures are saved as WebP, you can convert the files together instead of opening each one in an editor. Batch conversion simply means applying the same conversion settings to several images in one run.
Select your WebP files, choose quality, and download the successful JPGs together.
Convert multiple WebP files to JPG in four steps
Start with the original WebP files and keep them for any retries. The converter creates separate JPG copies, so it does not replace your originals. Before you begin, remember that JPG cannot keep transparency or animation: transparent areas become white, and an animated WebP becomes a still image.
1. Select your WebP images
Open the WebP to JPG tool. Drag your files into the selection area, or click it and choose several images from your device. Use + Add More if you missed a file.
On this page, JPG is already the output format. You don’t need to change a format dropdown. Wait for the selected files to finish loading before starting the conversion.
You can select up to 100 files at a time, with a 100 MiB limit per file. For a large collection, begin with a smaller group, especially on a phone. High-resolution images can use much more memory during processing than their saved file sizes suggest.
2. Choose a quality setting
Leave Conversion Quality at its default of 90 for your first batch. This setting applies to all the selected images. You can try another setting after checking the results in the next step.
Lower settings may reduce file size, but can soften detail or add visible artifacts. Start at 90, then decide whether a smaller file is worth any visible change.
Quality 90 is a compression setting, not a promise to retain exactly 90% of the original quality. The final file size depends on the picture as well as the setting.
3. Convert and check the results
Click the Convert button. Its label includes the number of selected images and the JPG output format. Leave the tab open until processing finishes.
Each successful result shows its output filename, file size, and pixel dimensions. Select Preview to inspect the JPG. For photos, check hair, foliage, fabric, and smooth color changes. For screenshots or graphics, check small lettering and sharp edges.
If a JPG looks too soft or is too large for your upload limit, adjust Conversion Quality and click Convert again. Changing the control alone does not create new results. If only one picture needs a different setting, download the other finished images first, then convert that picture separately.
The JPG keeps the source image’s pixel width and height in this workflow. Conversion changes the file format; it does not resize the picture or restore missing detail.
4. Download the batch as a ZIP
When at least two images have converted successfully, choose Download All as ZIP. You can also download individual results. If only one image succeeds, the main result button offers Download Image instead.
Find the saved ZIP in your browser’s downloads list. Open it and use your device’s Extract or Unzip option to get the individual JPG files; the wording varies by device. Open one extracted JPG to check it, then select those JPGs when an app or form asks for an image. The ZIP itself is a package of files, not a picture.
Check three things before you use the JPGs
Getting a compatible file is the first job. Before you share the batch or submit it to a website, check the details that can change during conversion.
File size can increase
A JPG copy can be larger than the WebP original. WebP and JPEG use different compression methods, so changing the format does not guarantee a smaller file. Google’s WebP documentation explains the format’s lossy and lossless compression options.
If a form accepts JPG but rejects the file size, try a lower conversion quality from the original WebP and compare again. You can also use the JPG compressor. Change pixel dimensions with the image resizer only when the destination allows it.
Transparent areas become white
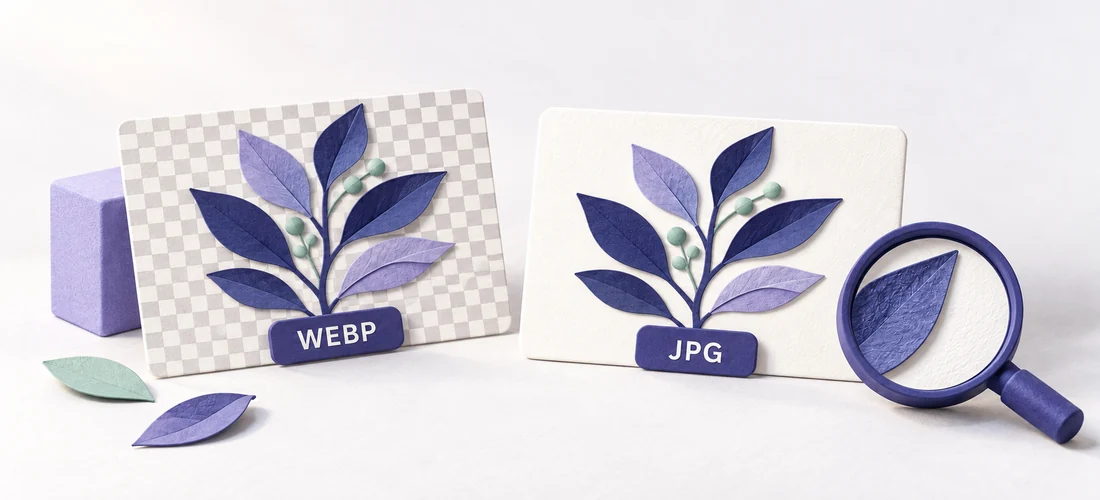
JPEG cannot store an alpha channel, which is the part of an image that describes transparency. ImageFinch fills transparent areas with white when creating the JPG. Check logos, cutouts, and soft shadows before using the result on a colored background.
If you need to keep transparency, choose WebP to PNG instead. Changing the finished JPG back to PNG will not bring its transparent background back.
Animation does not survive as a JPG
WebP can contain animation; a standard JPG stores a still image. Use this converter when you want a still copy. If the motion matters, keep the animated source and choose a workflow that supports animation.
Keep the original WebP files for future edits. The JPG export is not a backup of every source feature, and you should not rely on it to preserve the original metadata, such as camera or location tags.
Which format do you actually need?
Those differences make the choice straightforward: use JPG when the destination requires it, and choose another format when you need a feature JPG cannot keep.
| Your next step | A practical choice |
|---|---|
| A form or app specifically requires JPG/JPEG | Convert to JPG and check its other upload rules |
| A logo or cutout needs a transparent background | Use PNG rather than JPG |
| The image already works on your website | Keep WebP unless you have another reason to convert |
| The picture needs to keep moving | Keep an animation-capable format |
JPG and JPEG are names for the same format. Renaming picture.webp to picture.jpg, however, does not convert it. The image data must be decoded and saved with JPEG encoding.
If a file fails, keep the rest of your batch
If the batch does not finish exactly as expected, check which images succeeded before starting again. ImageFinch handles files separately, so you can download the successful results and retry the problem file on its own.
- The image won’t load: check that the download is complete and the file is a supported image. A renamed or damaged file may still fail.
- The tab becomes slow or stops responding: retry with fewer files, especially on a phone. Large decoded images need more memory than their saved file sizes suggest.
- The JPG won’t upload: select the downloaded JPG, not the original WebP or the ZIP. Check the form’s byte limit and required pixel dimensions as well as the format.
- Two files have the same name: the ZIP download adds a numbered suffix to repeated names, such as photo.jpg and photo (2).jpg, so both files are kept.
The browser workflow is the same basic process on Windows, Mac, and mobile: select, convert, inspect, and download. The file picker and download location depend on your browser and device settings. If you can’t find the result, check the browser’s downloads list first.
Make the JPG copies you need
Start with a few WebP files at quality 90. Check the JPG previews and file sizes, download the ZIP, and open an extracted image in the app that needs it. Once that works, repeat the process for the rest of your collection and keep the originals for future edits.
Select your WebP files, choose quality, and download the successful JPGs together.